I was asked to make an Xbox controller Groom's cake for my friend Mikie's wedding reception. Here are the steps it took to make this cake a success.
STEP ONE:
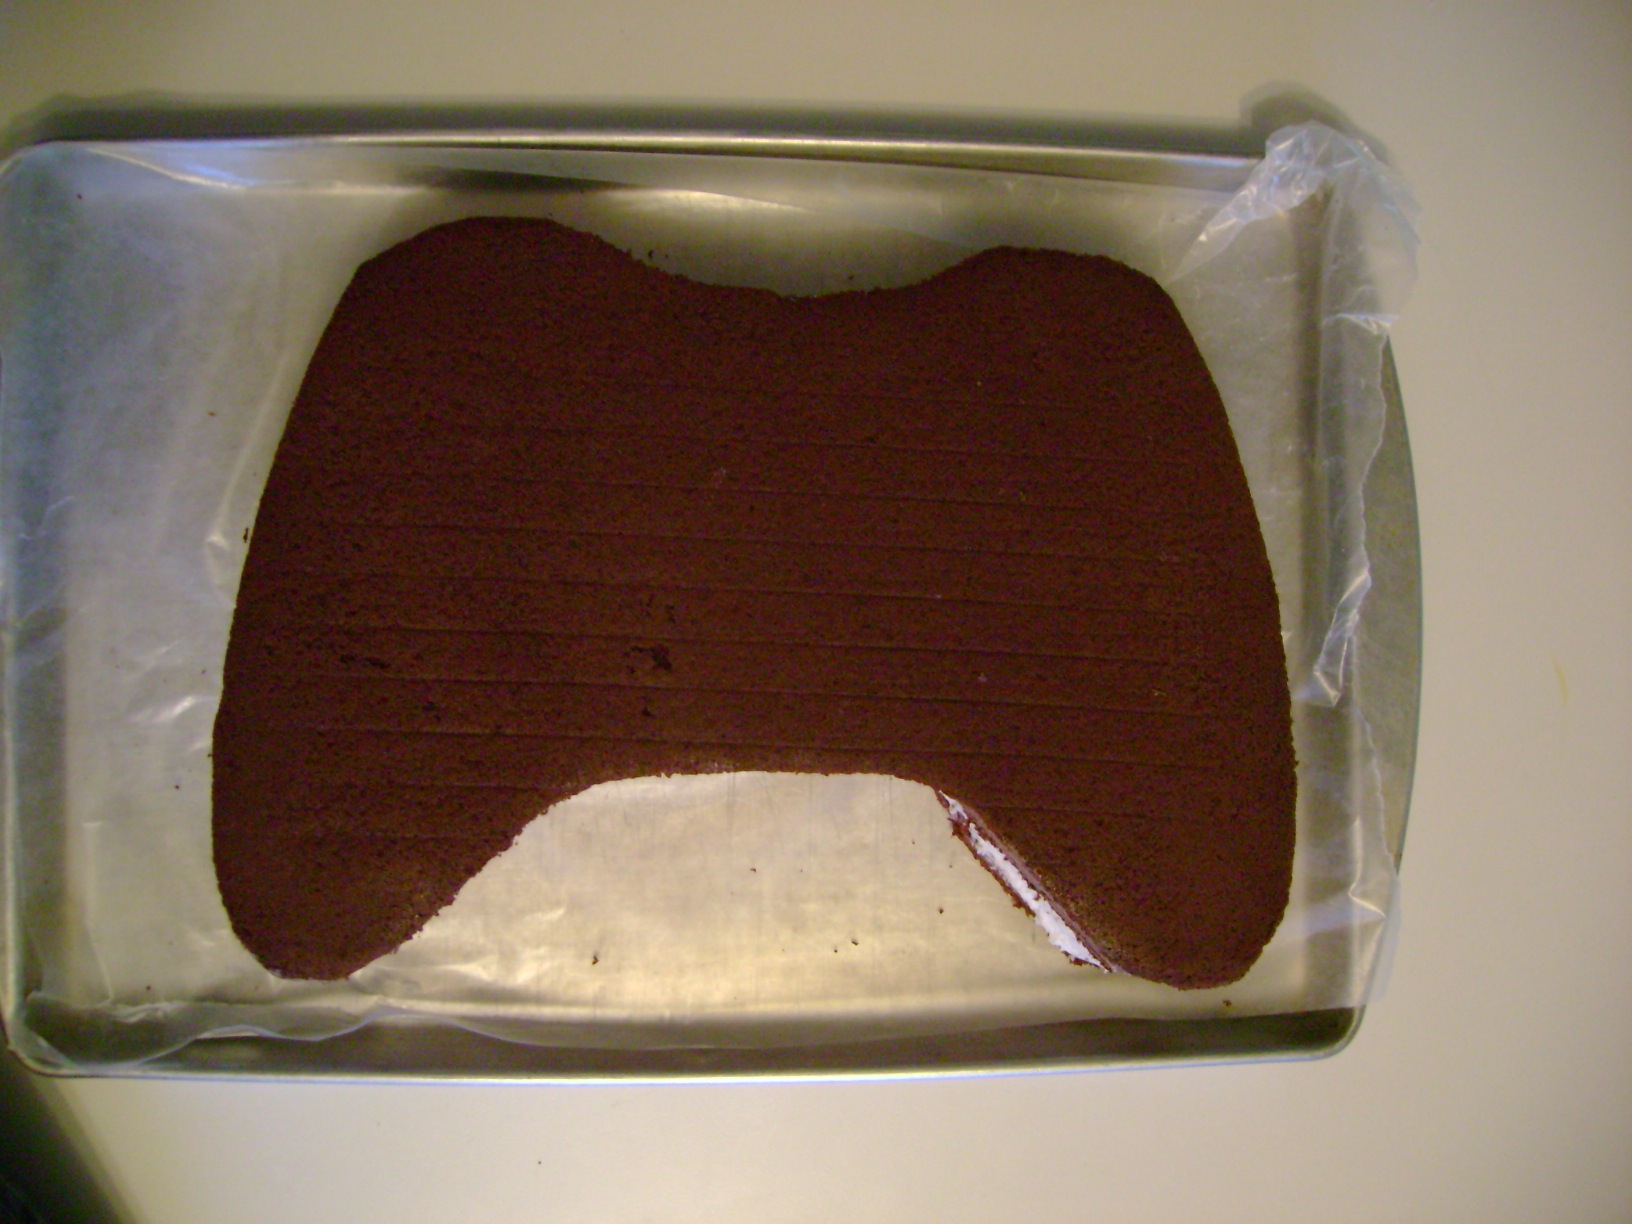
I baked two rectangular layers of milk chocolate cake, placed buttercream filling between the layers, and used a stencil I created on my computer to cut the cake into the correct shape.
STEP TWO:
I frosted the entire cake in white buttercream and allowed the icing to crust (appoximately 20 minutes).

STEP THREE: Once the icing had crusted, I used regular Viva paper towels to smooth the icing. This step helps the surface of the cake to more closely resemble plastic--a definite must when you are creating an Xbox controller! ((Note: I realize I could use fondant to give it a 'plastic' look...I just don't think fondant tastes as good as buttercream, plus it's more difficult to cut when you are ready to serve the cake.))
Next, I piped gray-tinted buttercream on the edge of the cake to match the controller.

STEP FOUR:
Using a #12 tip, I created the buttons and triggers on the top edge of the cake to match the controller.

STEP FIVE:
I used a second printout of my stencil to make all the buttons and joysticks the correct size. All buttons were created out of fondant that I tinted to match the buttons on the actual controller. All pieces were cut and shaped and left to dry overnight.

STEP SIX:
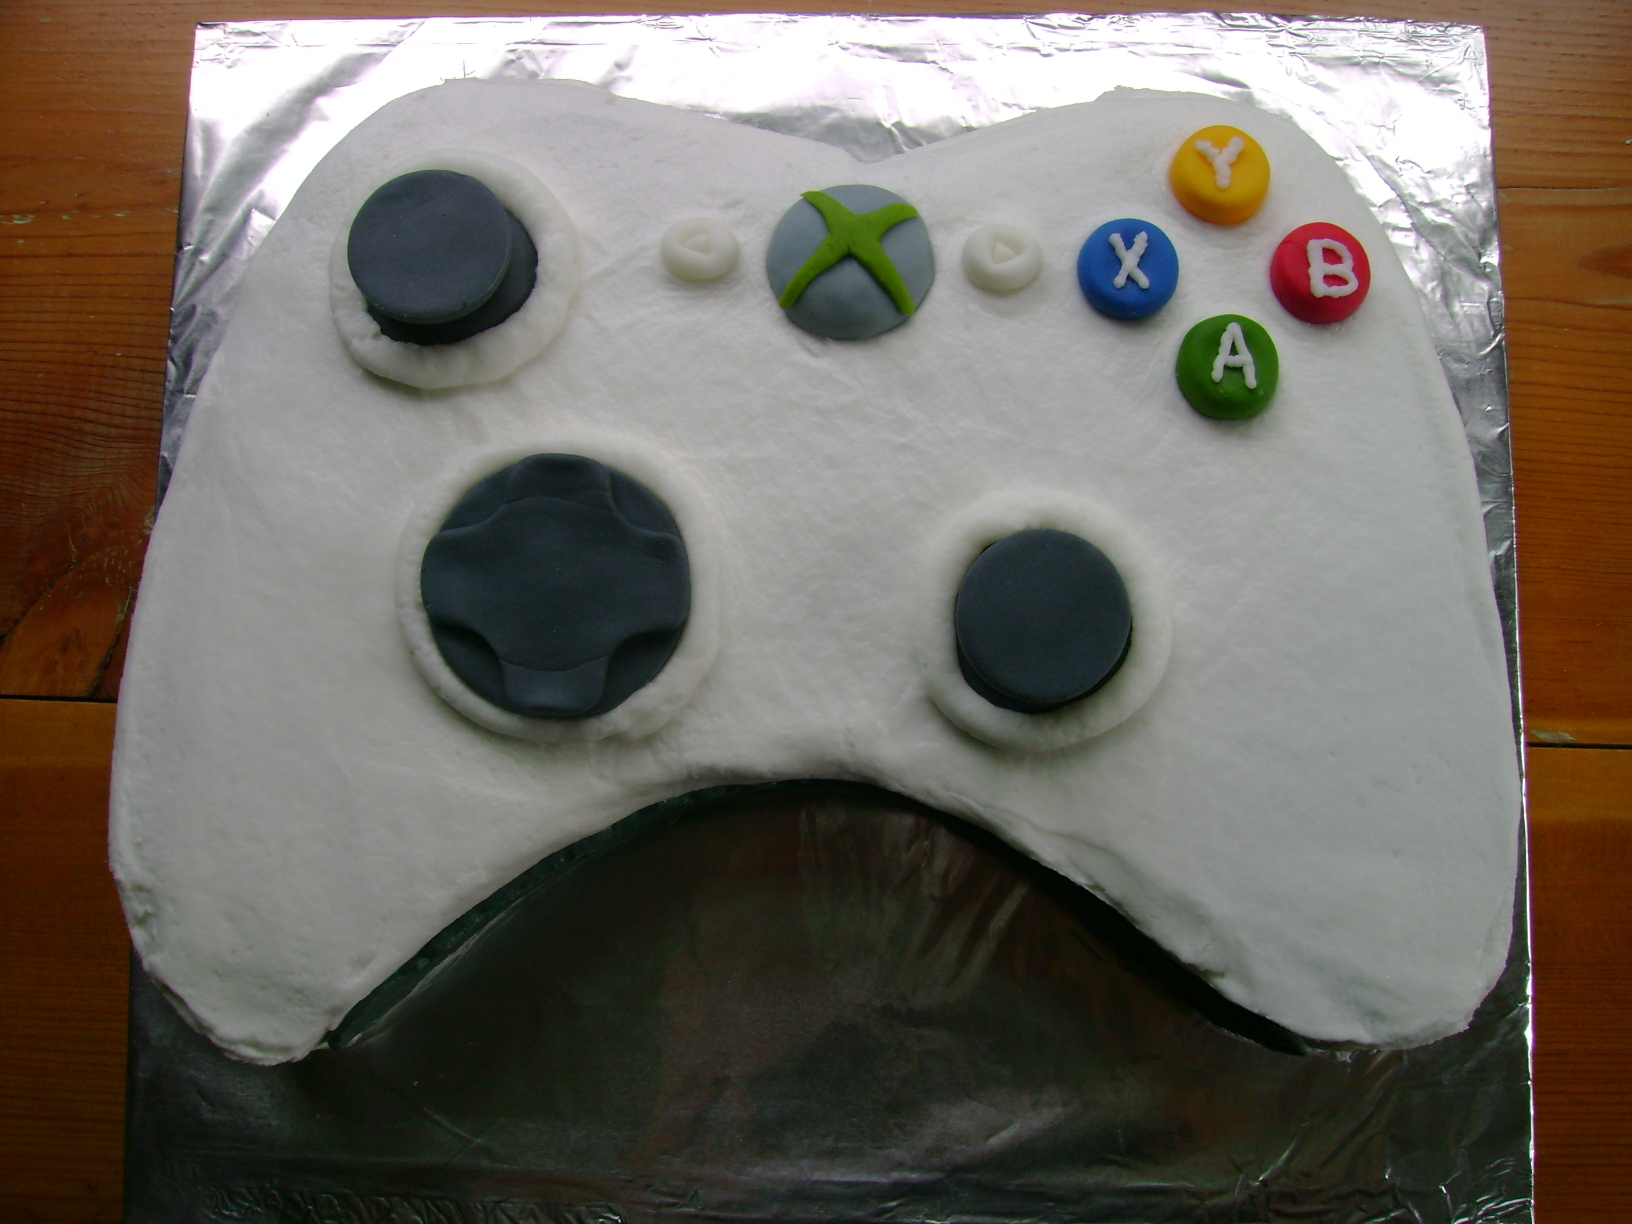
Using the actual controller as a model, I placed the fondant buttons in the correct positions on the cake. I then piped the details on the buttons using thin consistency buttercream.

STEP SEVEN:
Using the actual controller as a model, I placed the 3-D fondant joysticks in the correct positions on the cake.

DONE! The finished product...an Xbox Groom's cake, iced and ready for my friend Mikie's wedding reception.

The finished product as compared to its inspiration.

As much as I dislike its taste, fondant does hold a shape pretty well. Thus, all the buttons and joysticks were completely 3-D and made out of tinted fondant.
