In September 2009, I started a cupcake adventure. (At this rate, I may never finish! And, I'm not sure I even want to, so, ha!) If you haven’t read about it yet, you can do so here. ***
Need a simple way to make a dessert that doesn't require many ingredients? You've come to the right post!
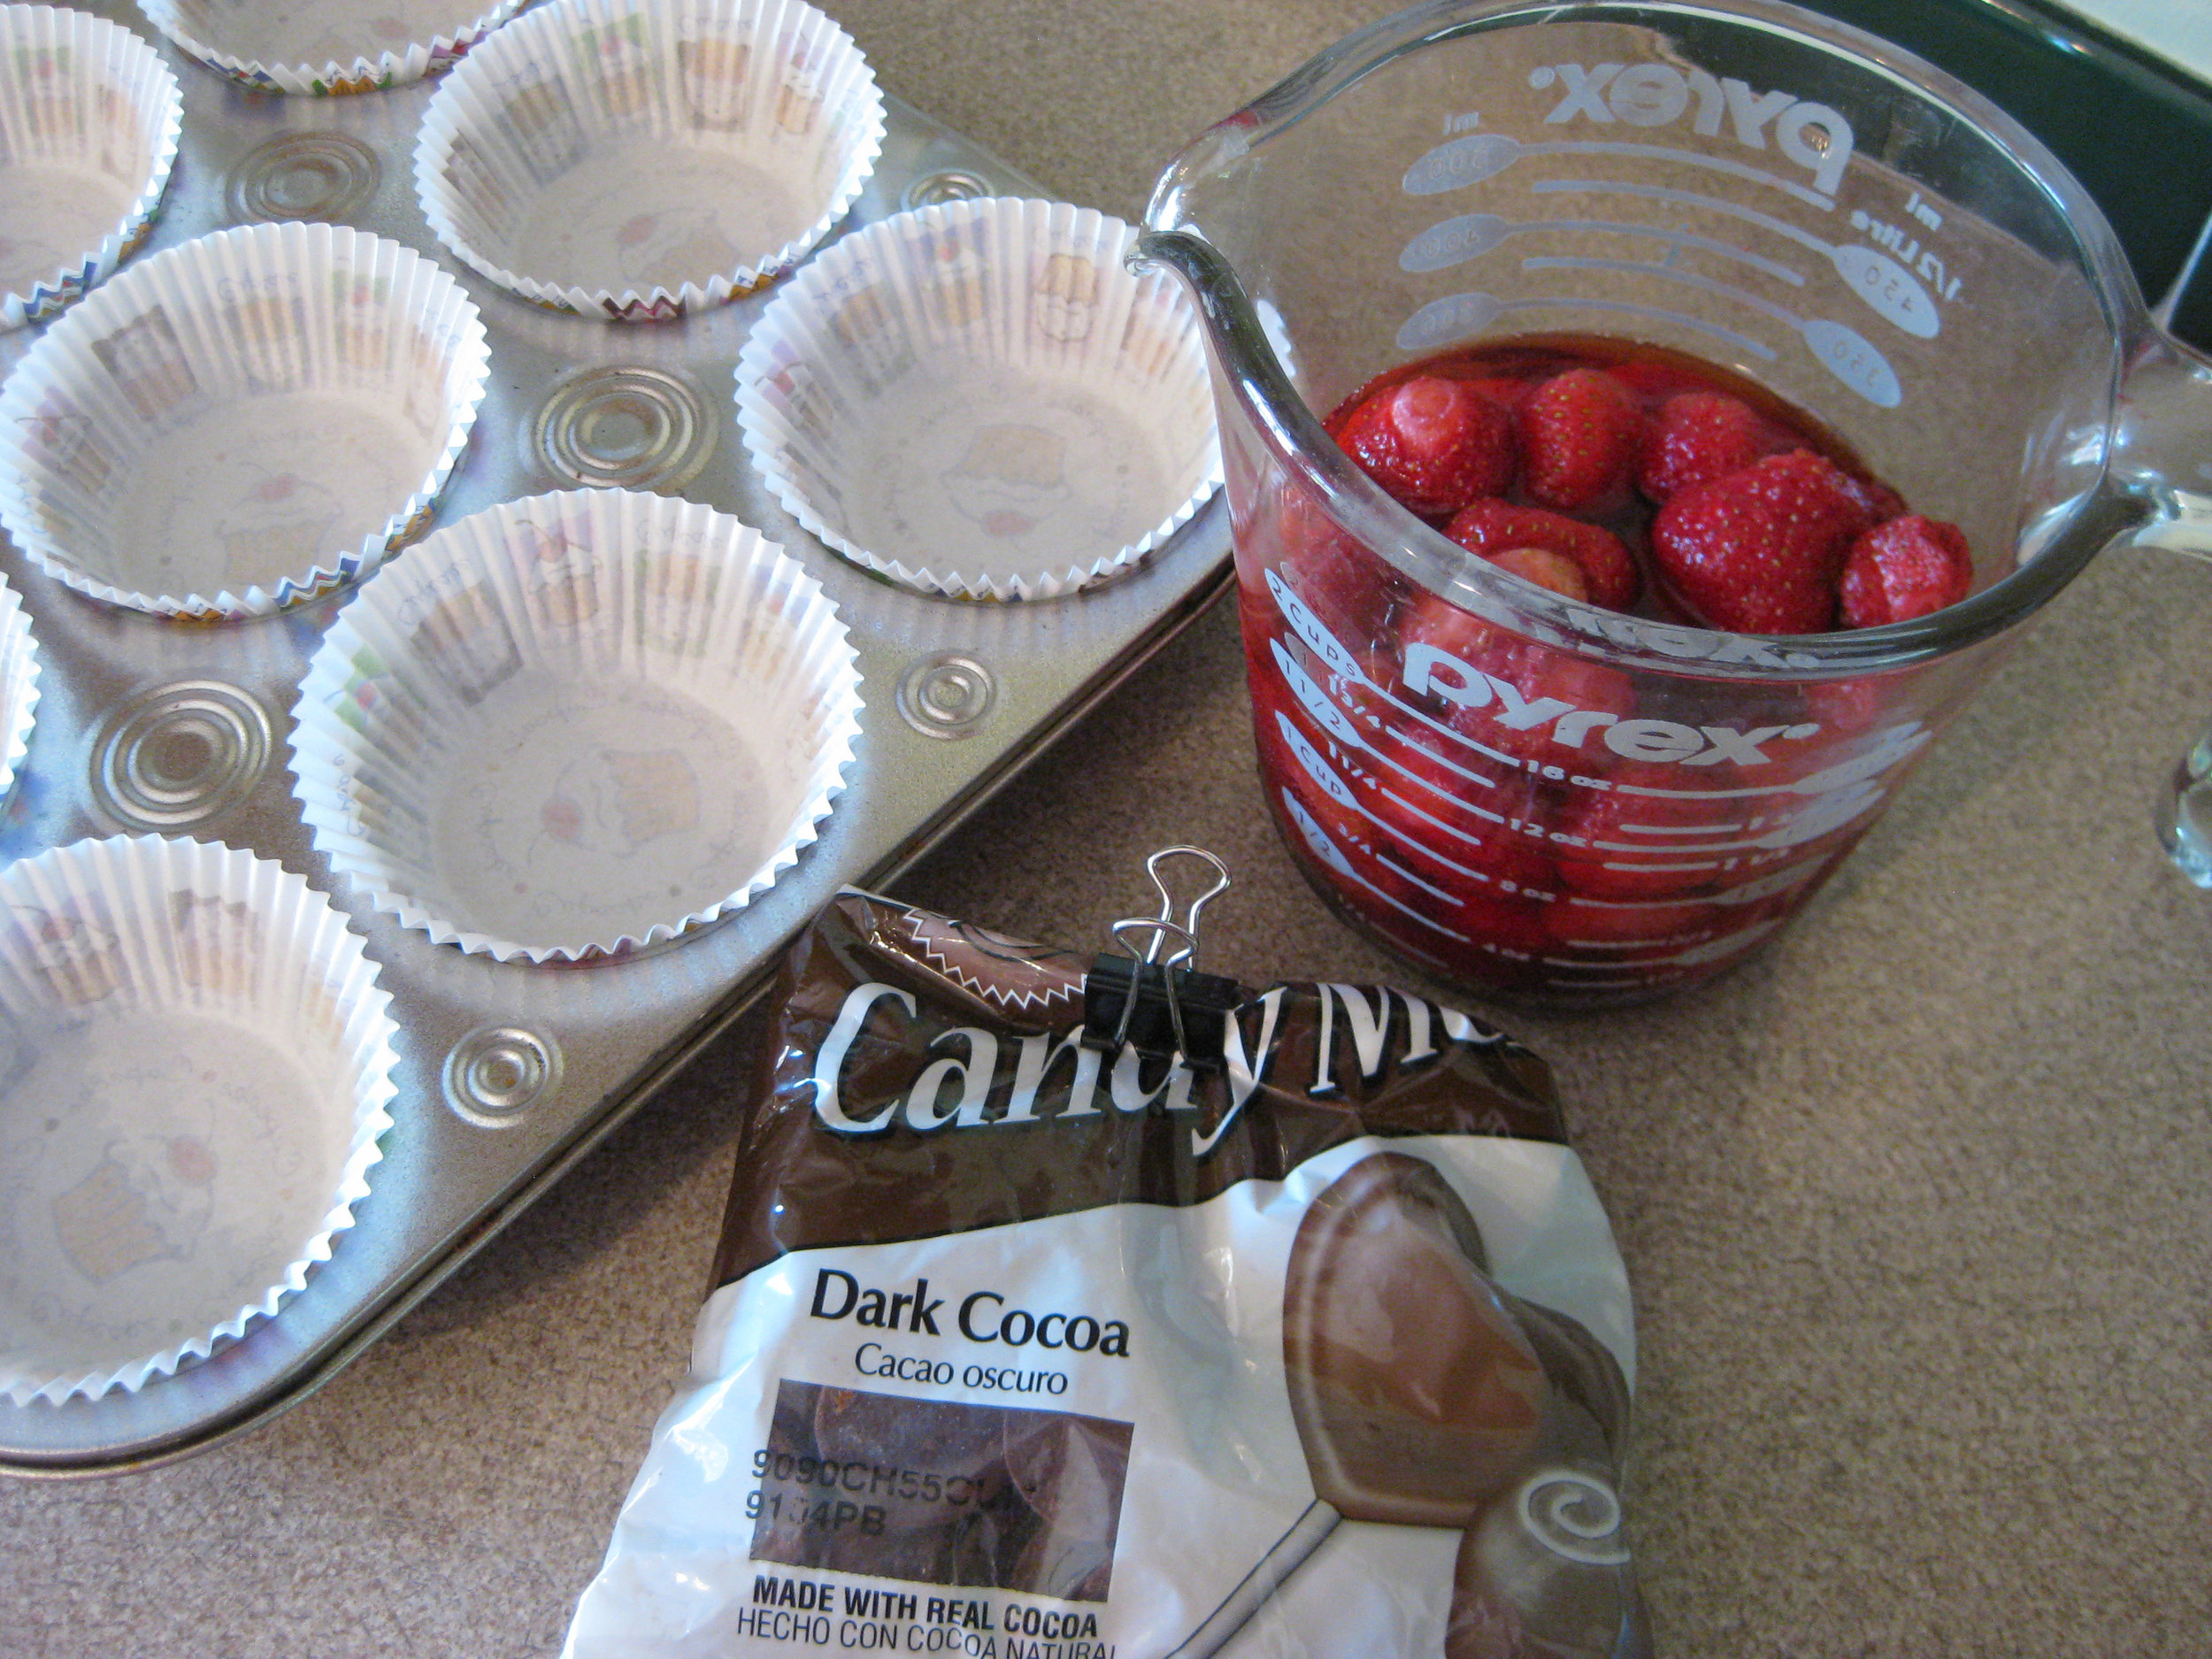
Ingredients:
- Candy Melts by Wilton or Make'n Mold wafers or other baking chocolate (regular chips in chocolate, white chocolate, mint, etc. work fine, too.)
- Cupcake papers (save your cute ones for another project...this is a good chance to use up those out-of-season or mismatched ones!)
- Fruit or other "filling." I chose to use thawed, frozen strawberries from my grandparents' farm. Yummy!
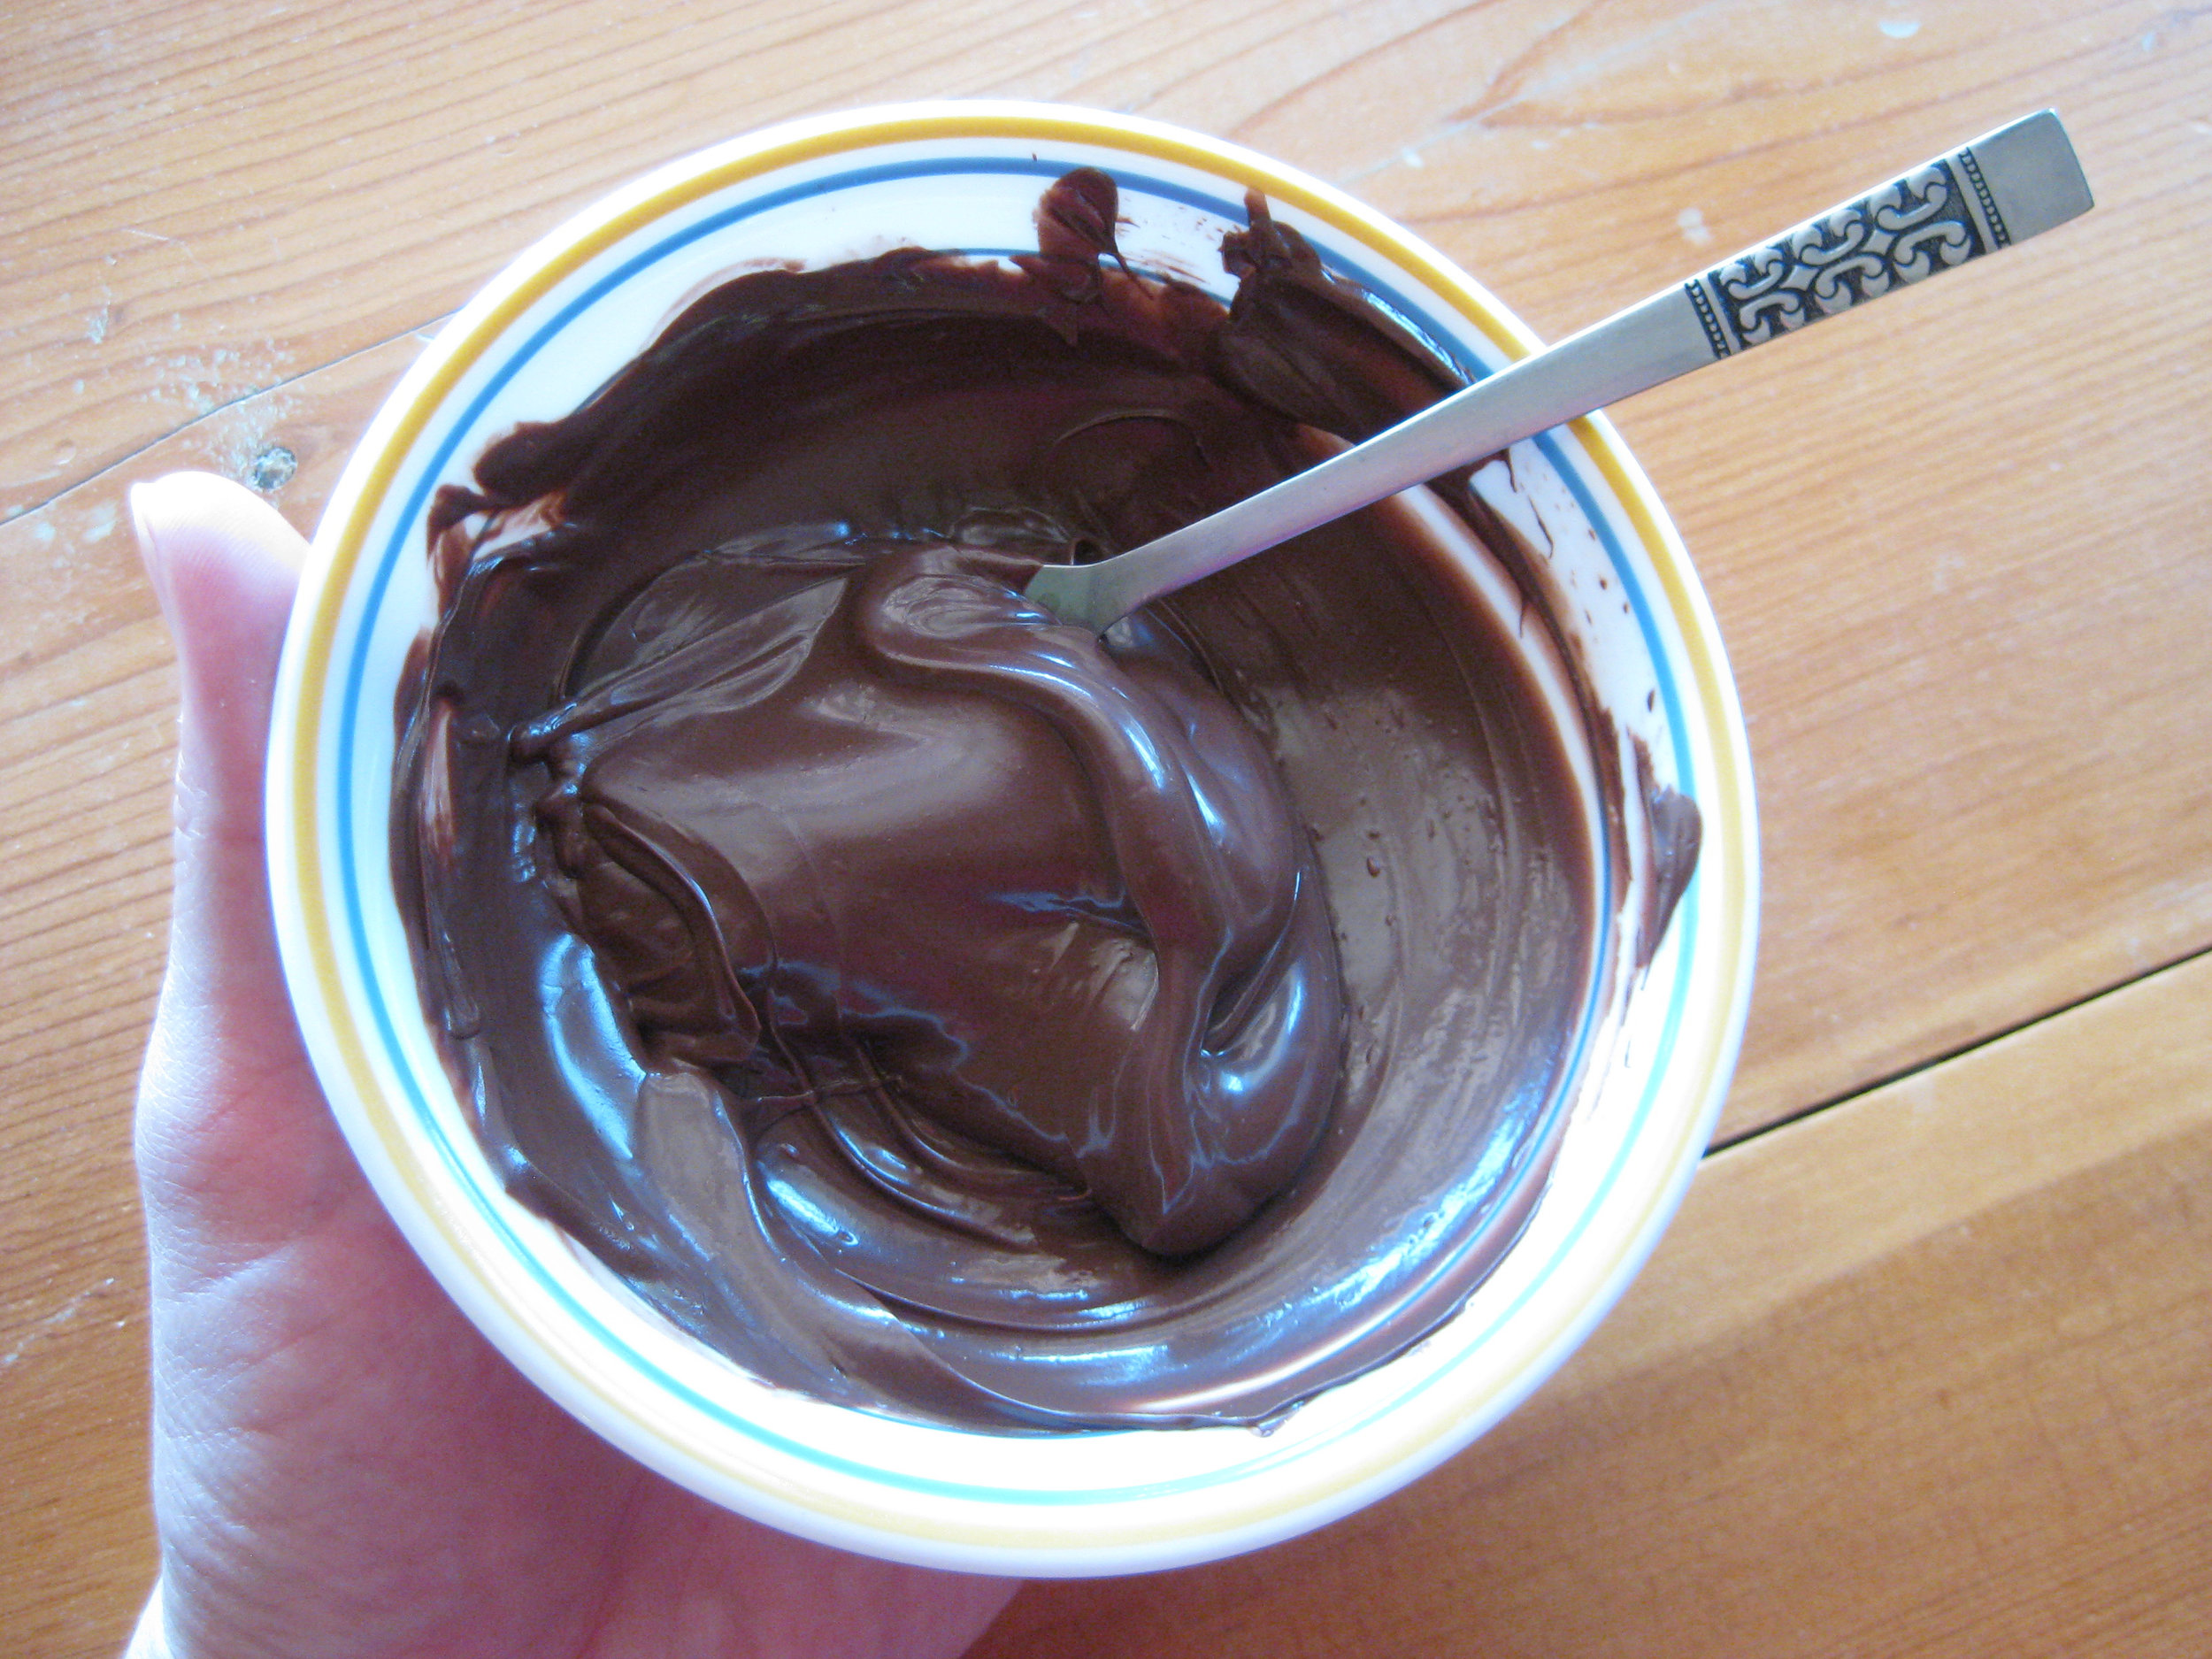
You start by melting the wafers in a microwave or double boiler.
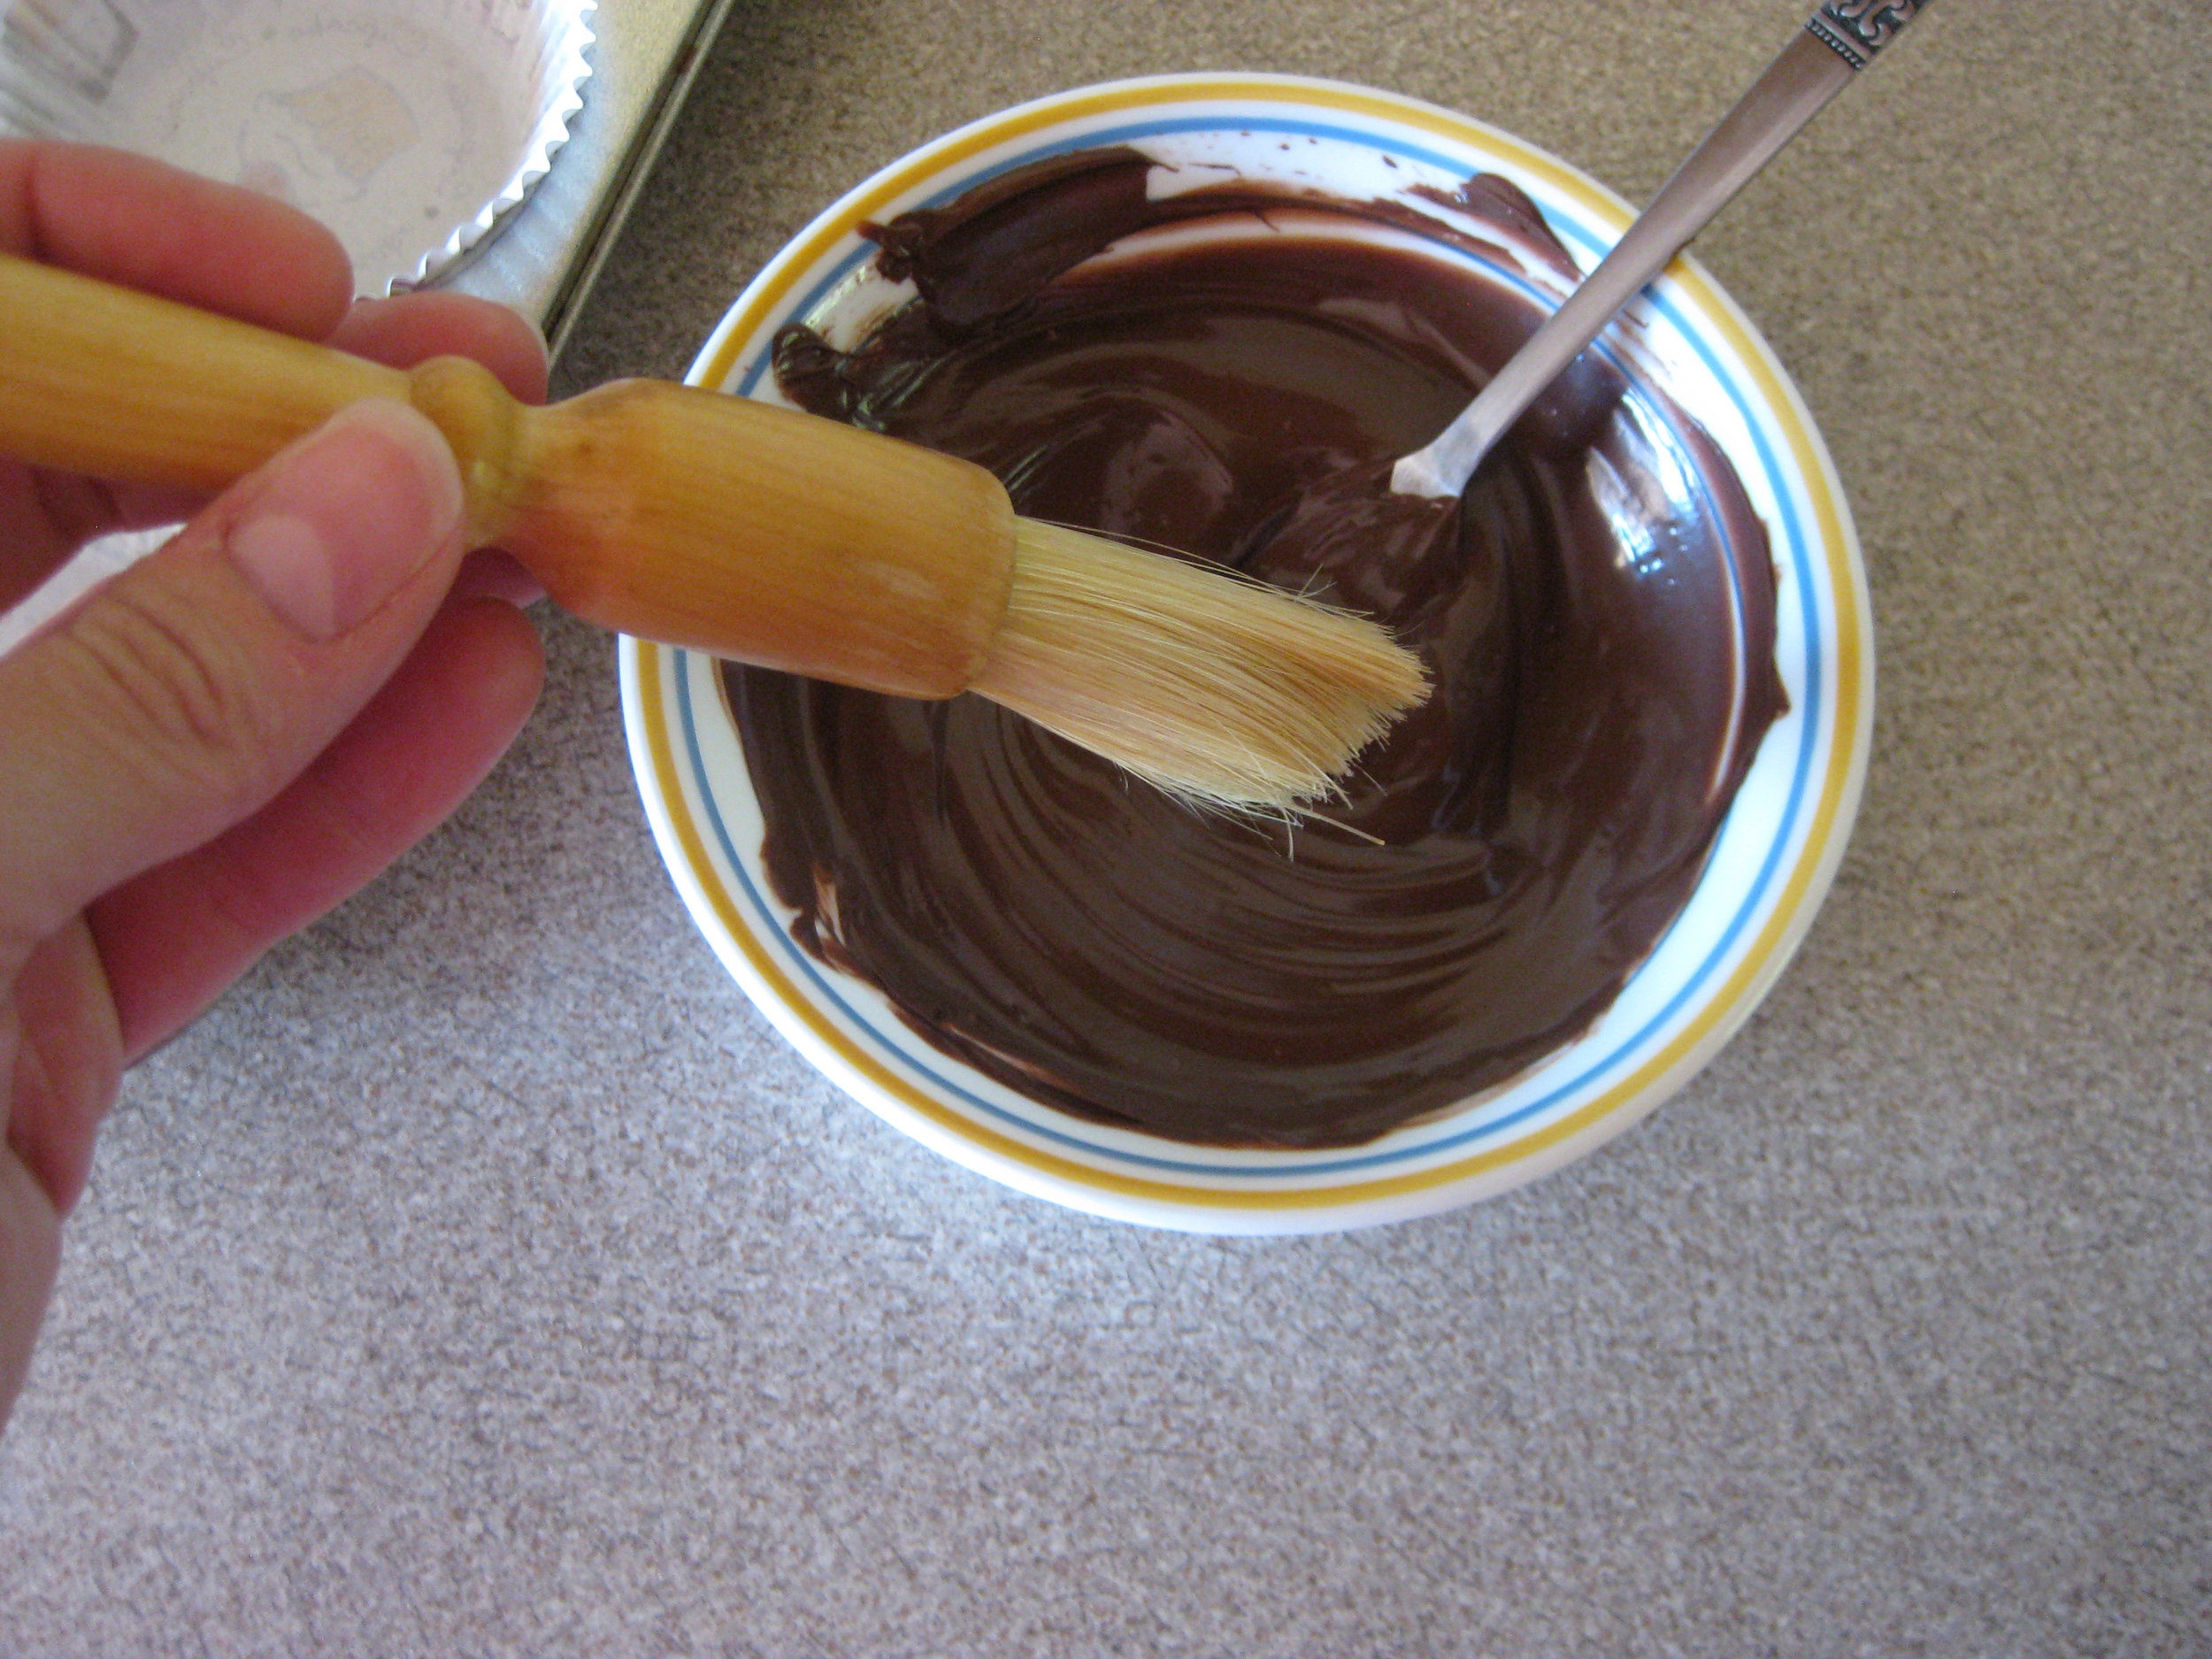
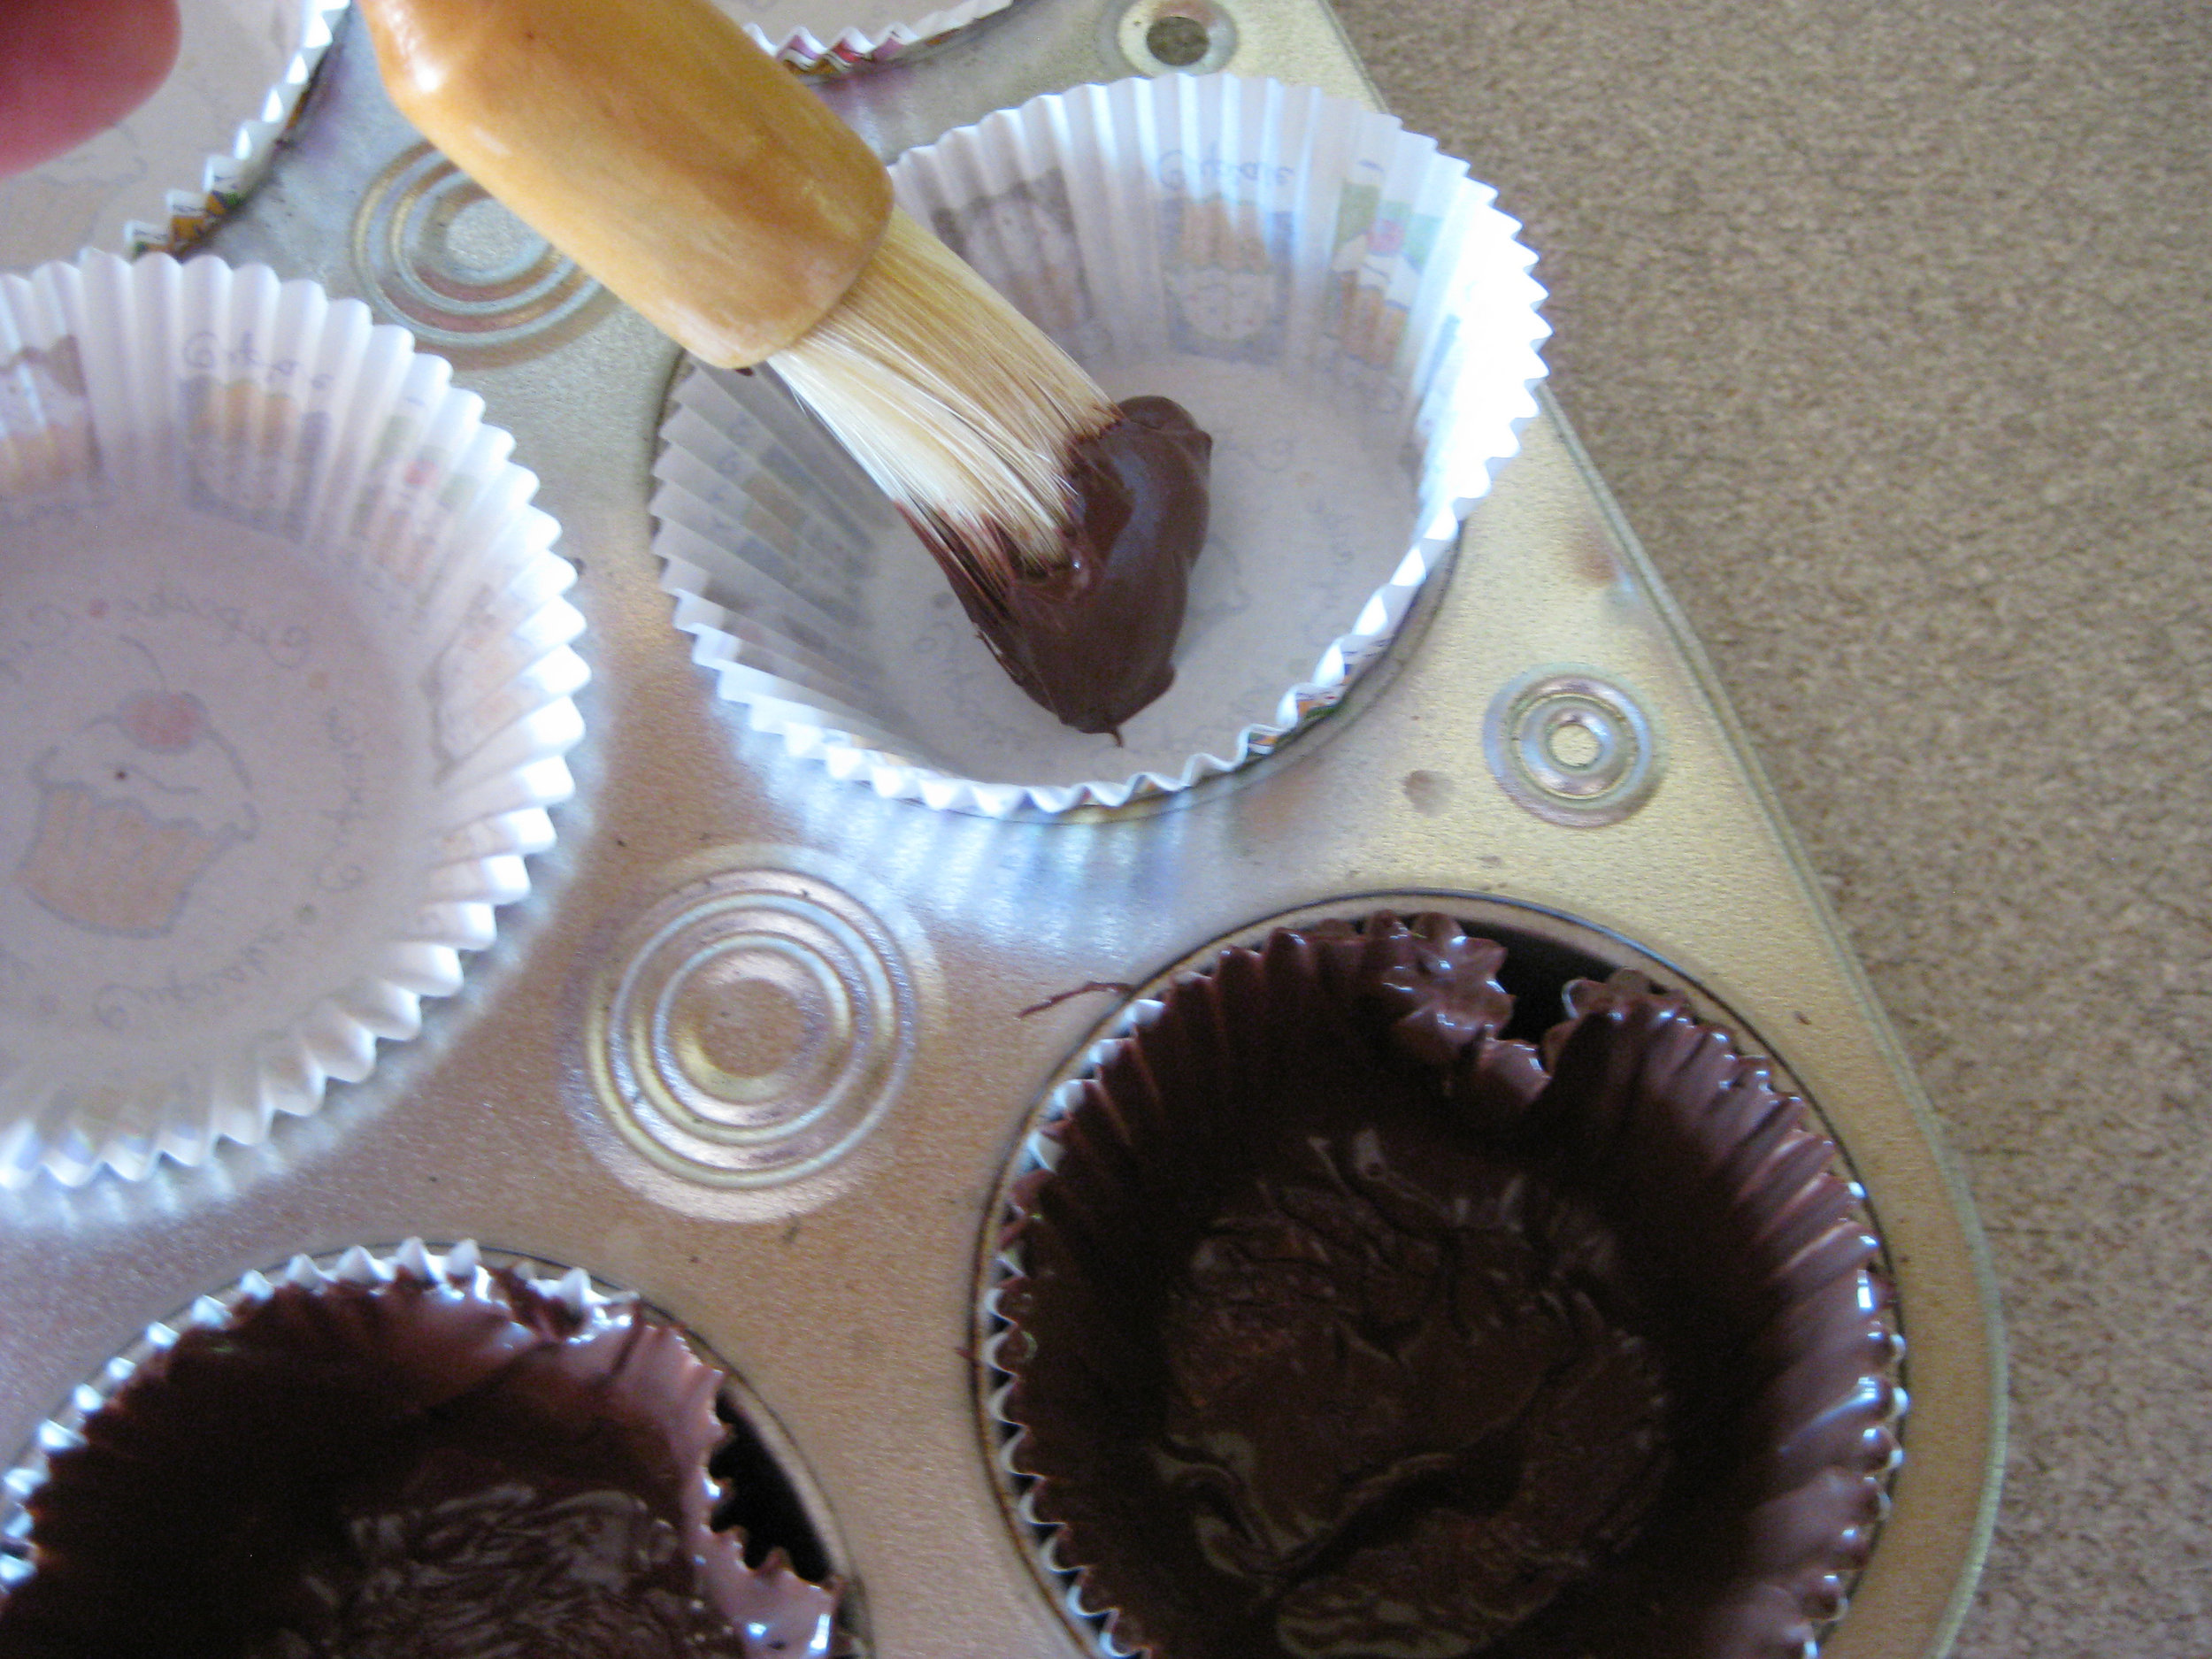
You then use a pastry brush to get a dip of chocolate...
And "paint" a layer of chocolate all over a cupcake paper like so:
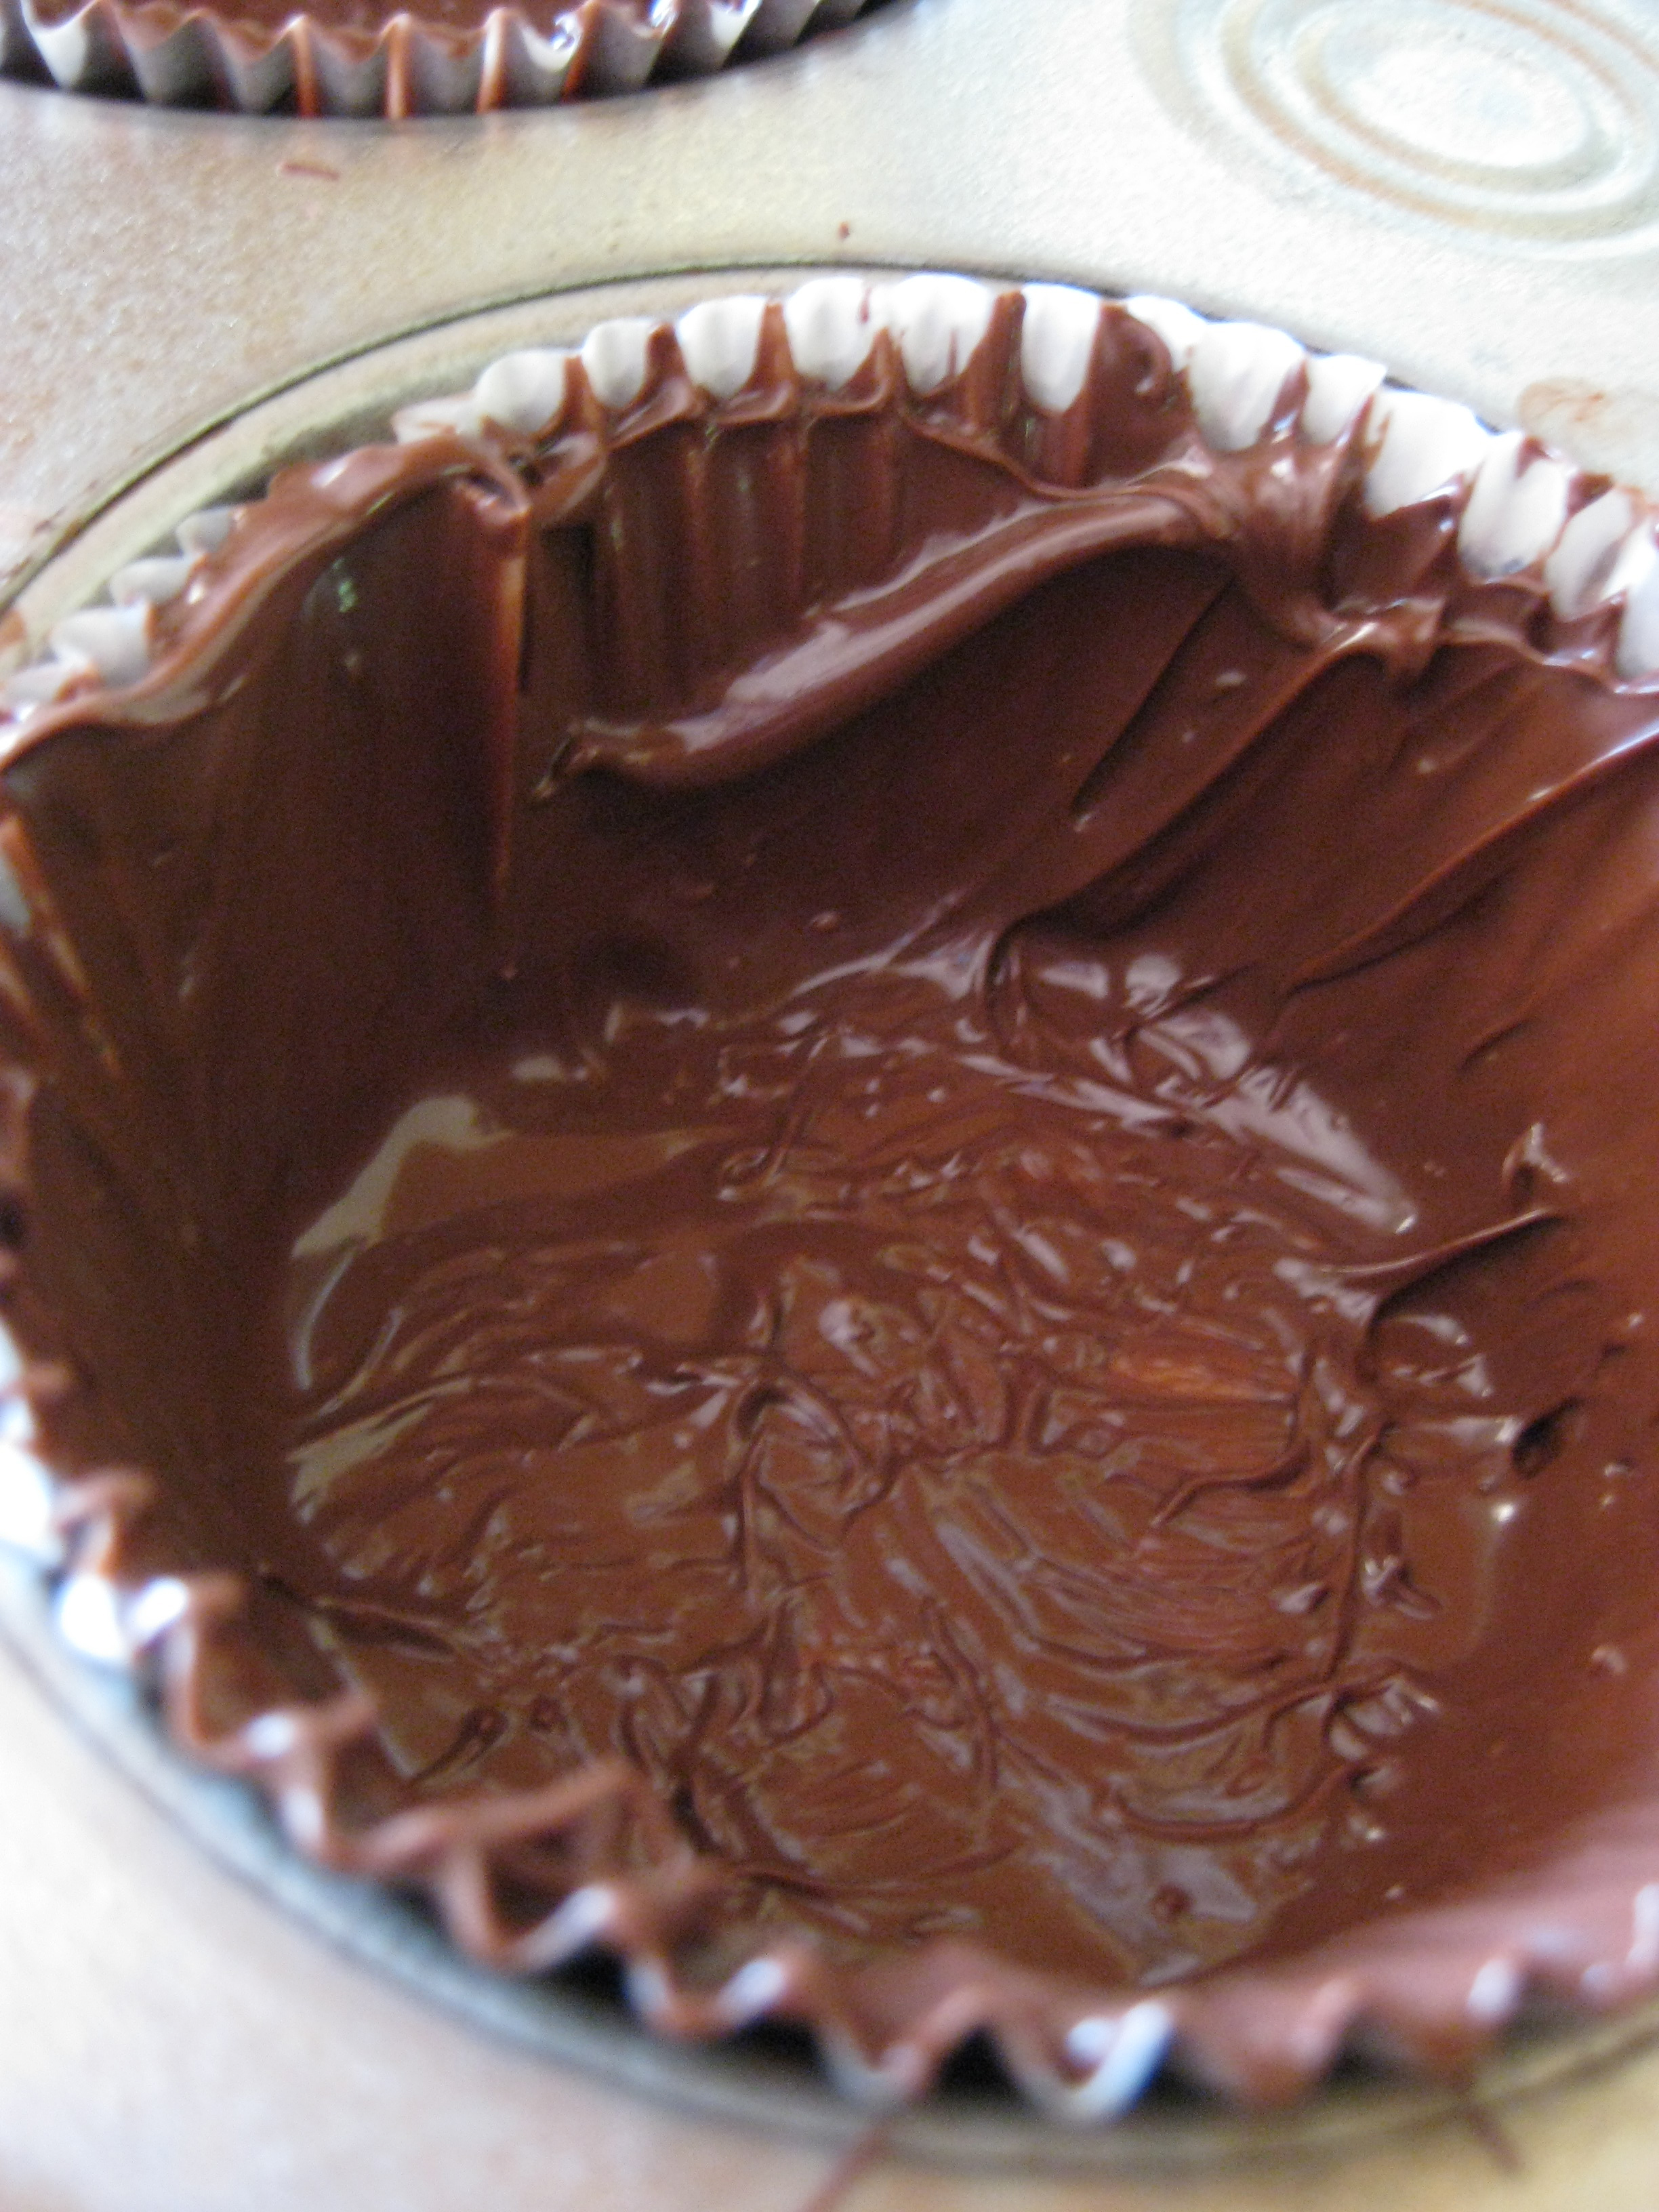
Here's what a single layer looks like. You can tell by the transparency of the chocolate in the bottom that it's important to do several coats! At least with candy melts. I'm not sure you'd have the same problem with chocolate chips or other baking chocolates.
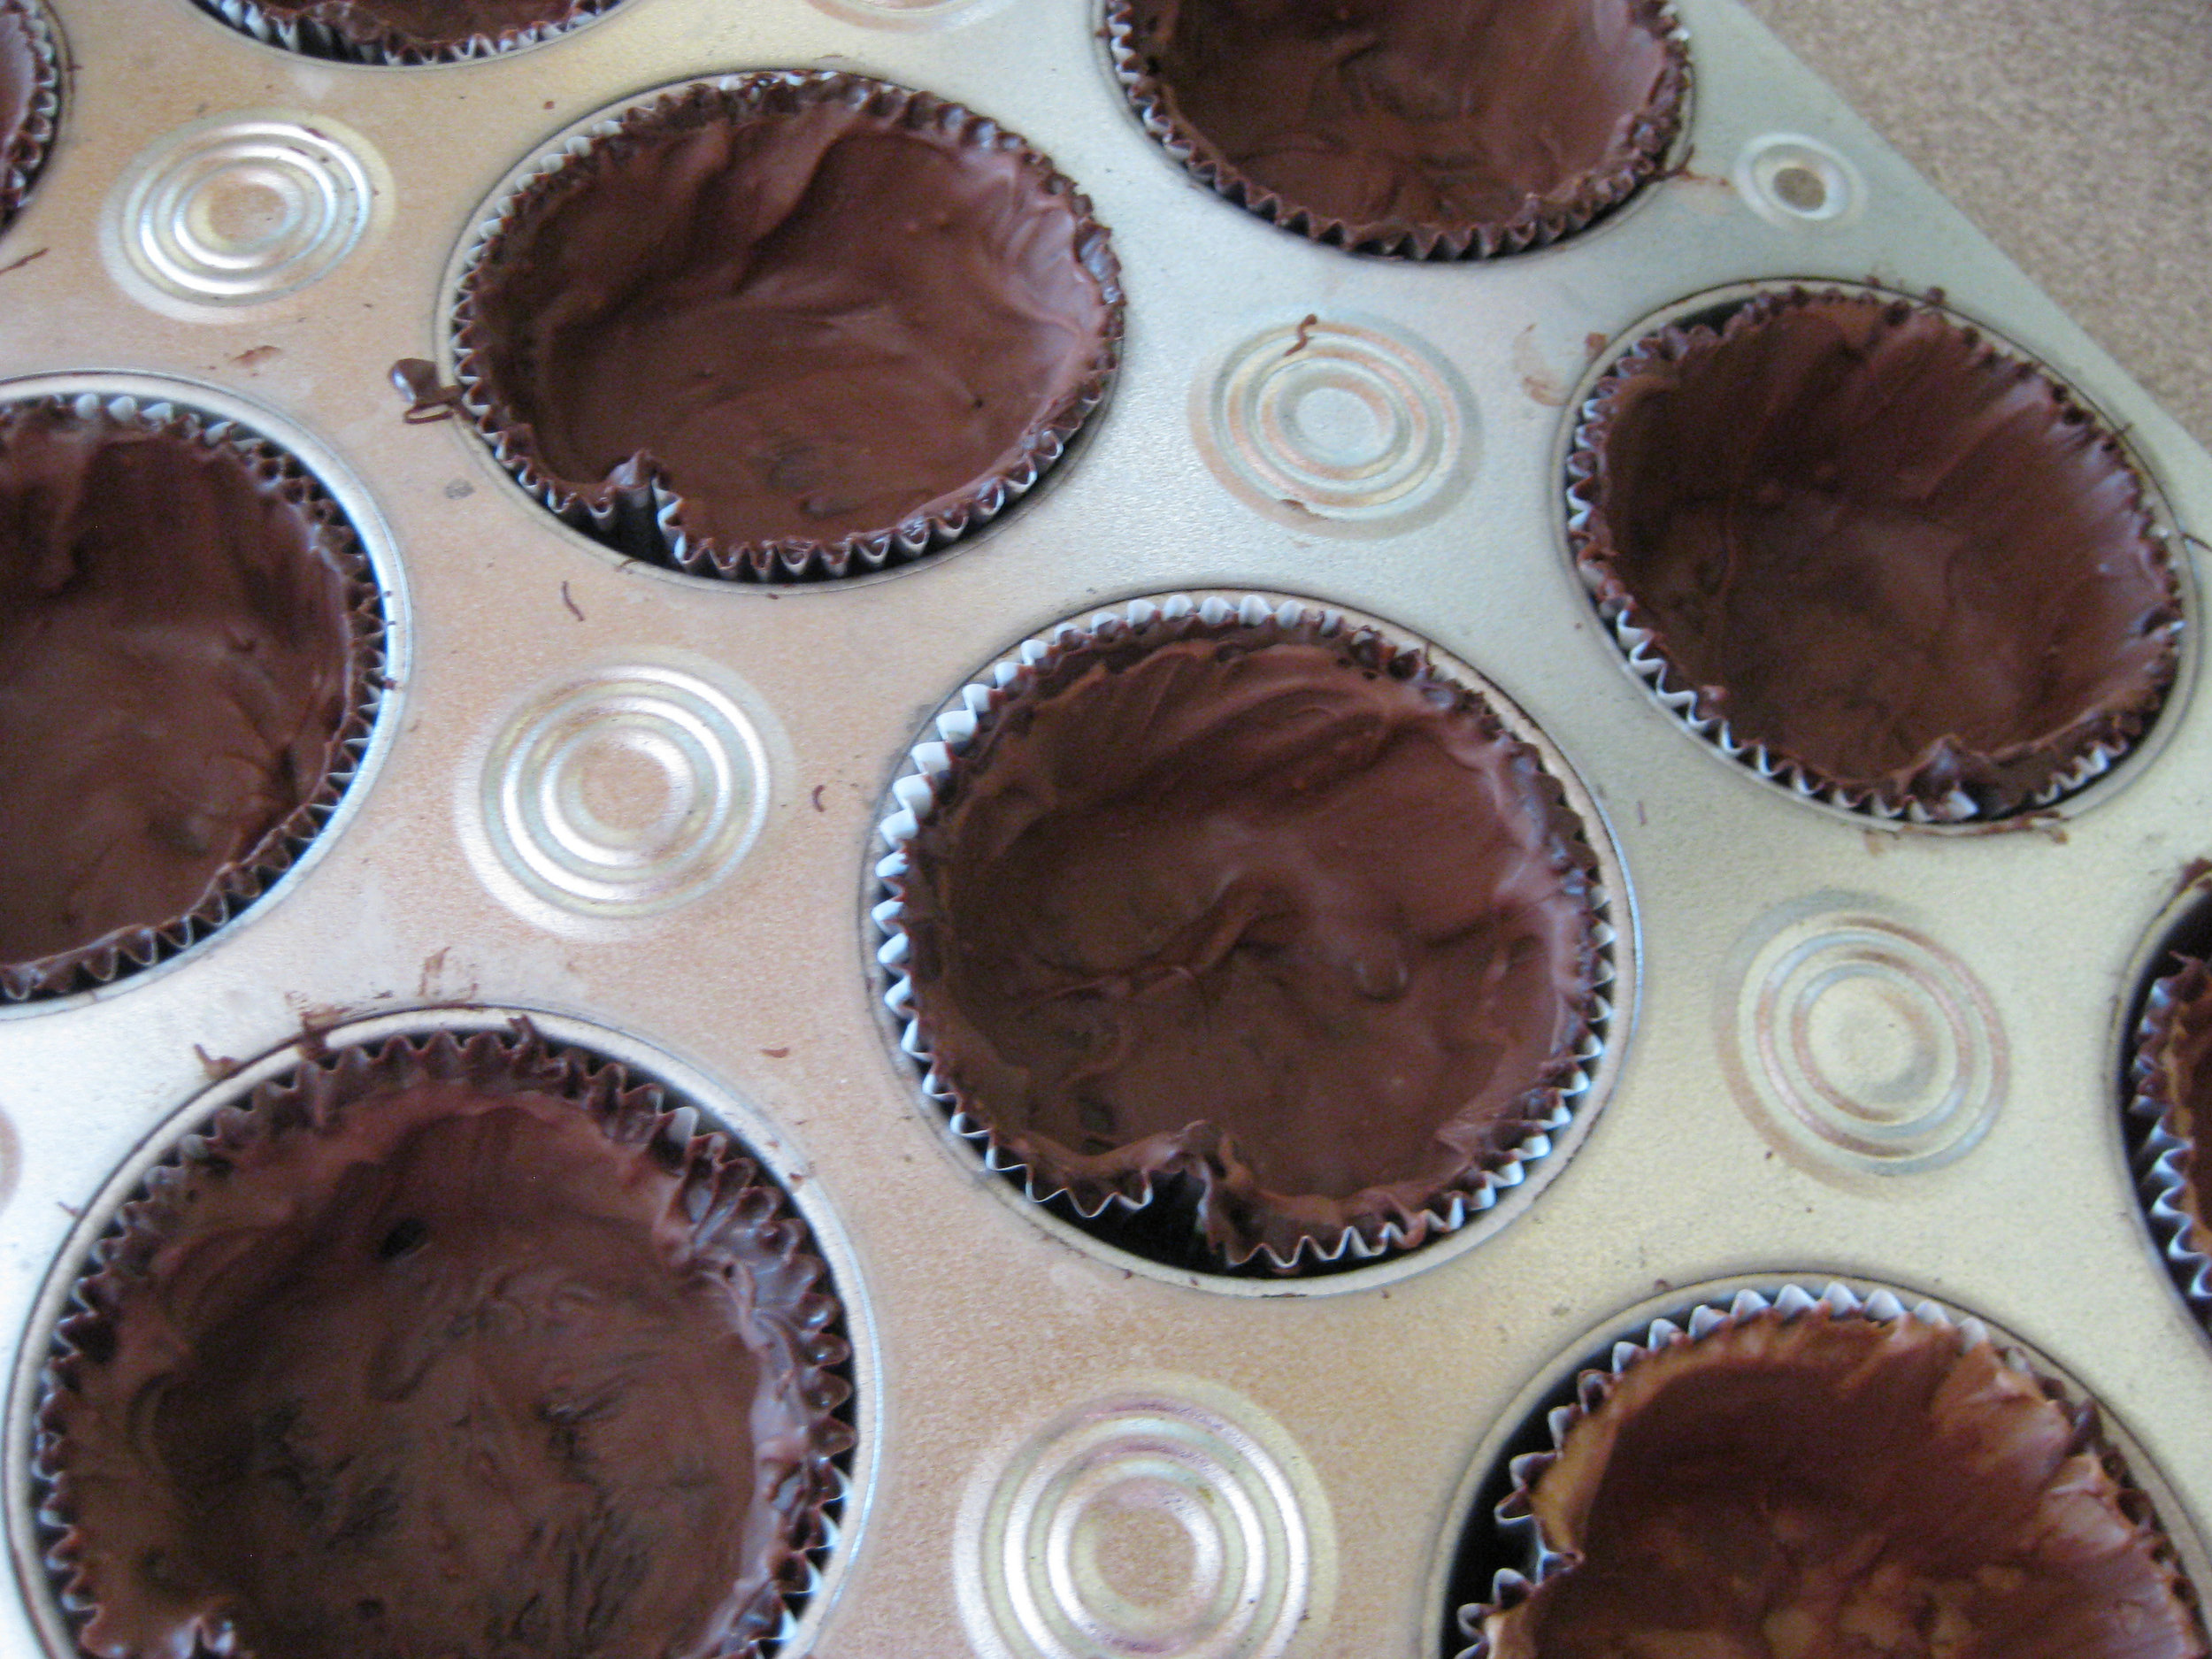
I did a total of three coats and had some issues getting a smooth coating. The first coat was a little tricky to get on, and after that, subsequent coats of warm chocolate kept melting the previous coats.
So...they looked a little globby, but since they were going to be covered up, it wasn't a problem! :) I refrigerated them for 15-20 minutes to make sure the chocolate was nice and set.
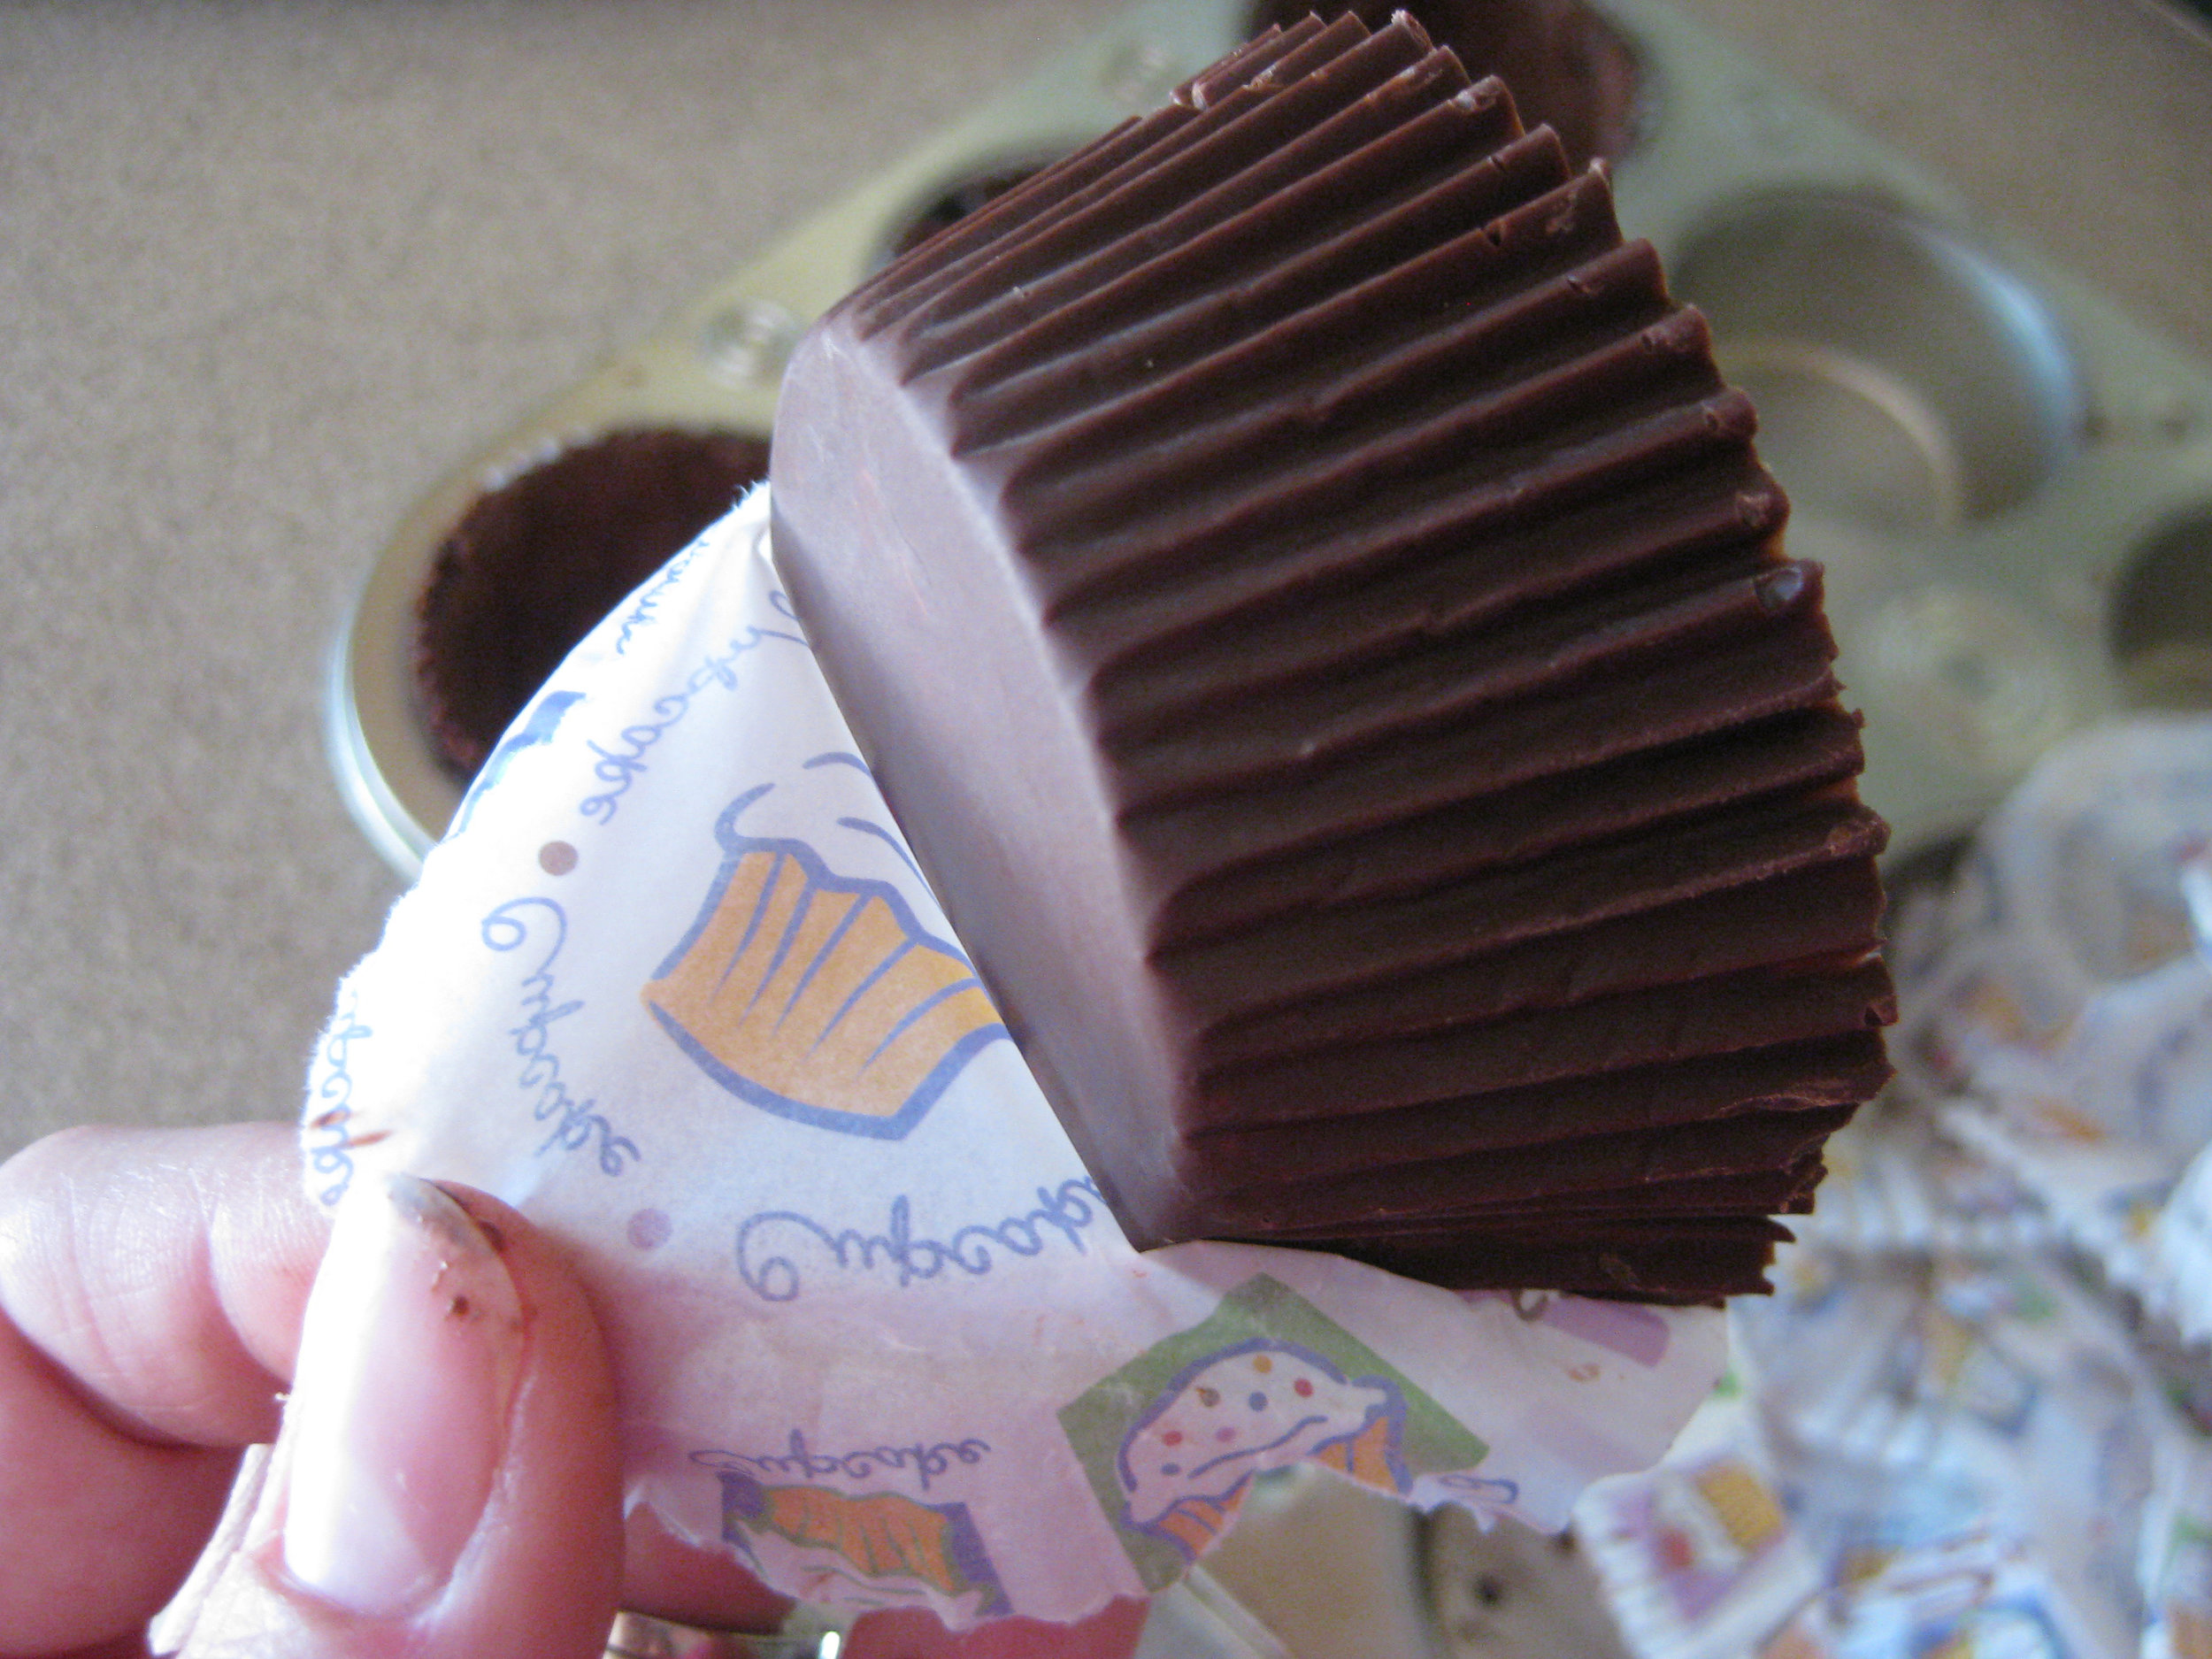
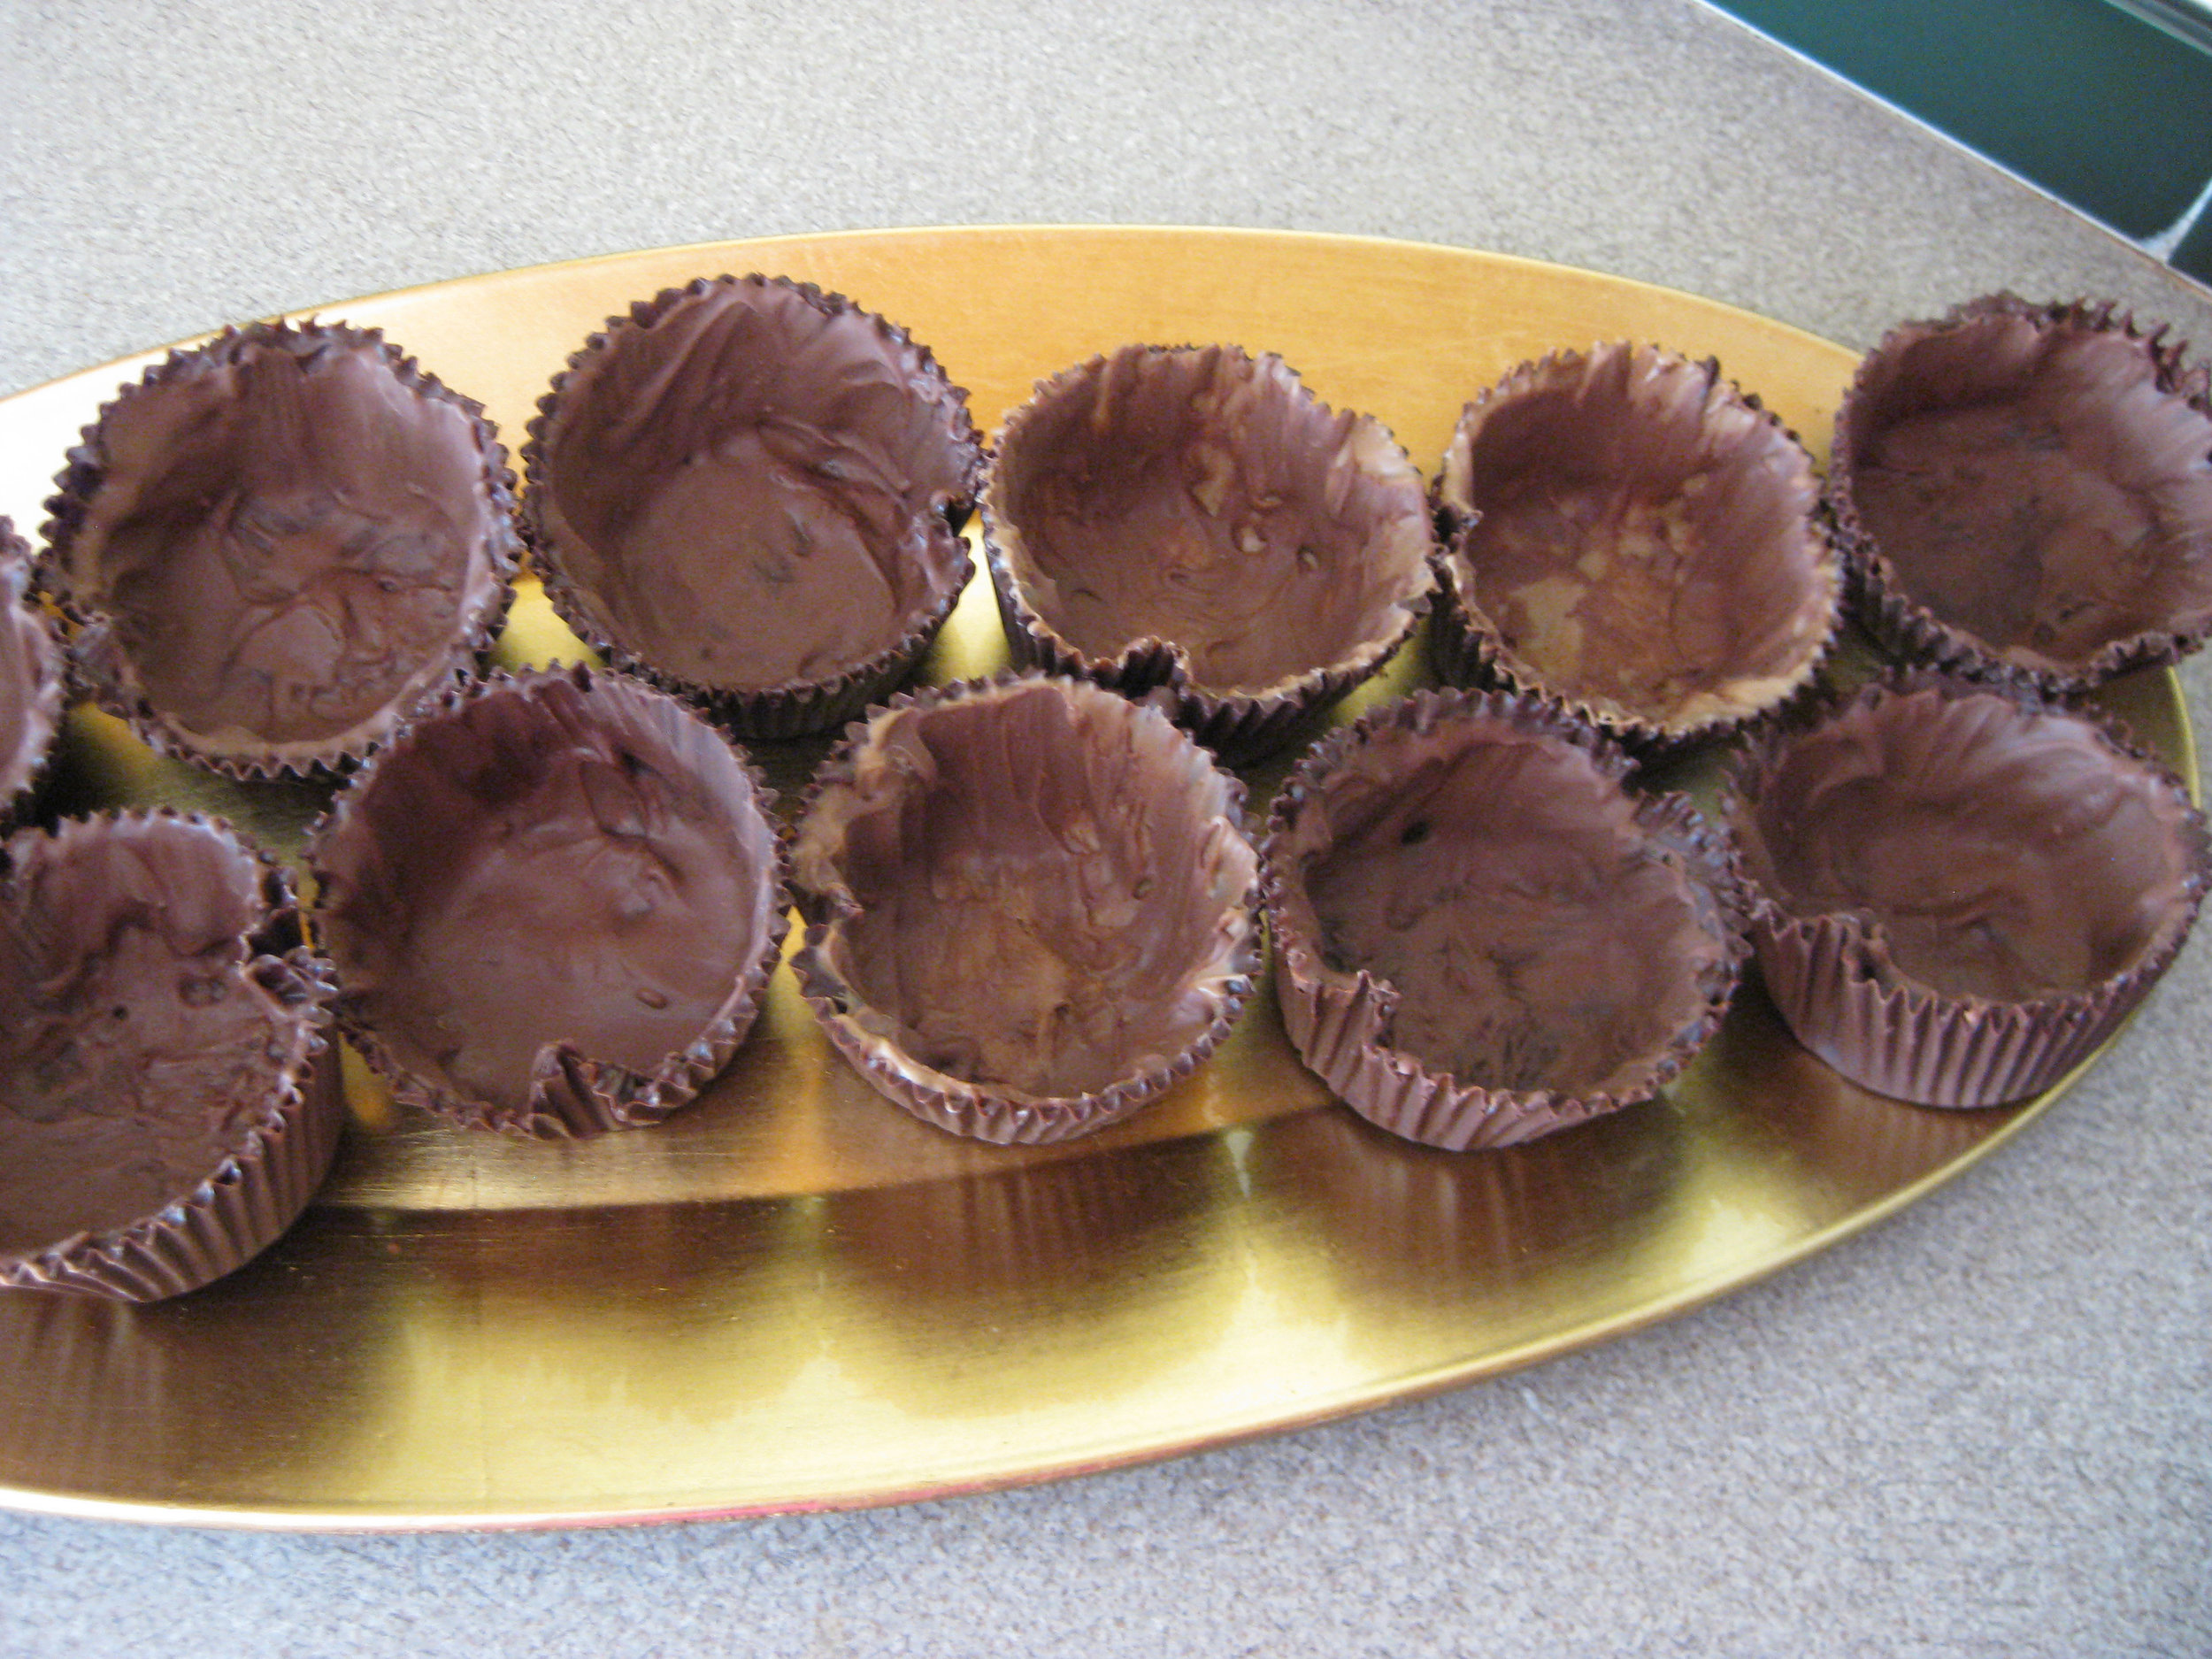
Once the chocolate had cooled and hardened, next came the really fun part! Peeling off the paper! The three coats made them nice and sturdy, but I still worked carefully to remove the wrappers.
Here they are peeled and ready to be filled!
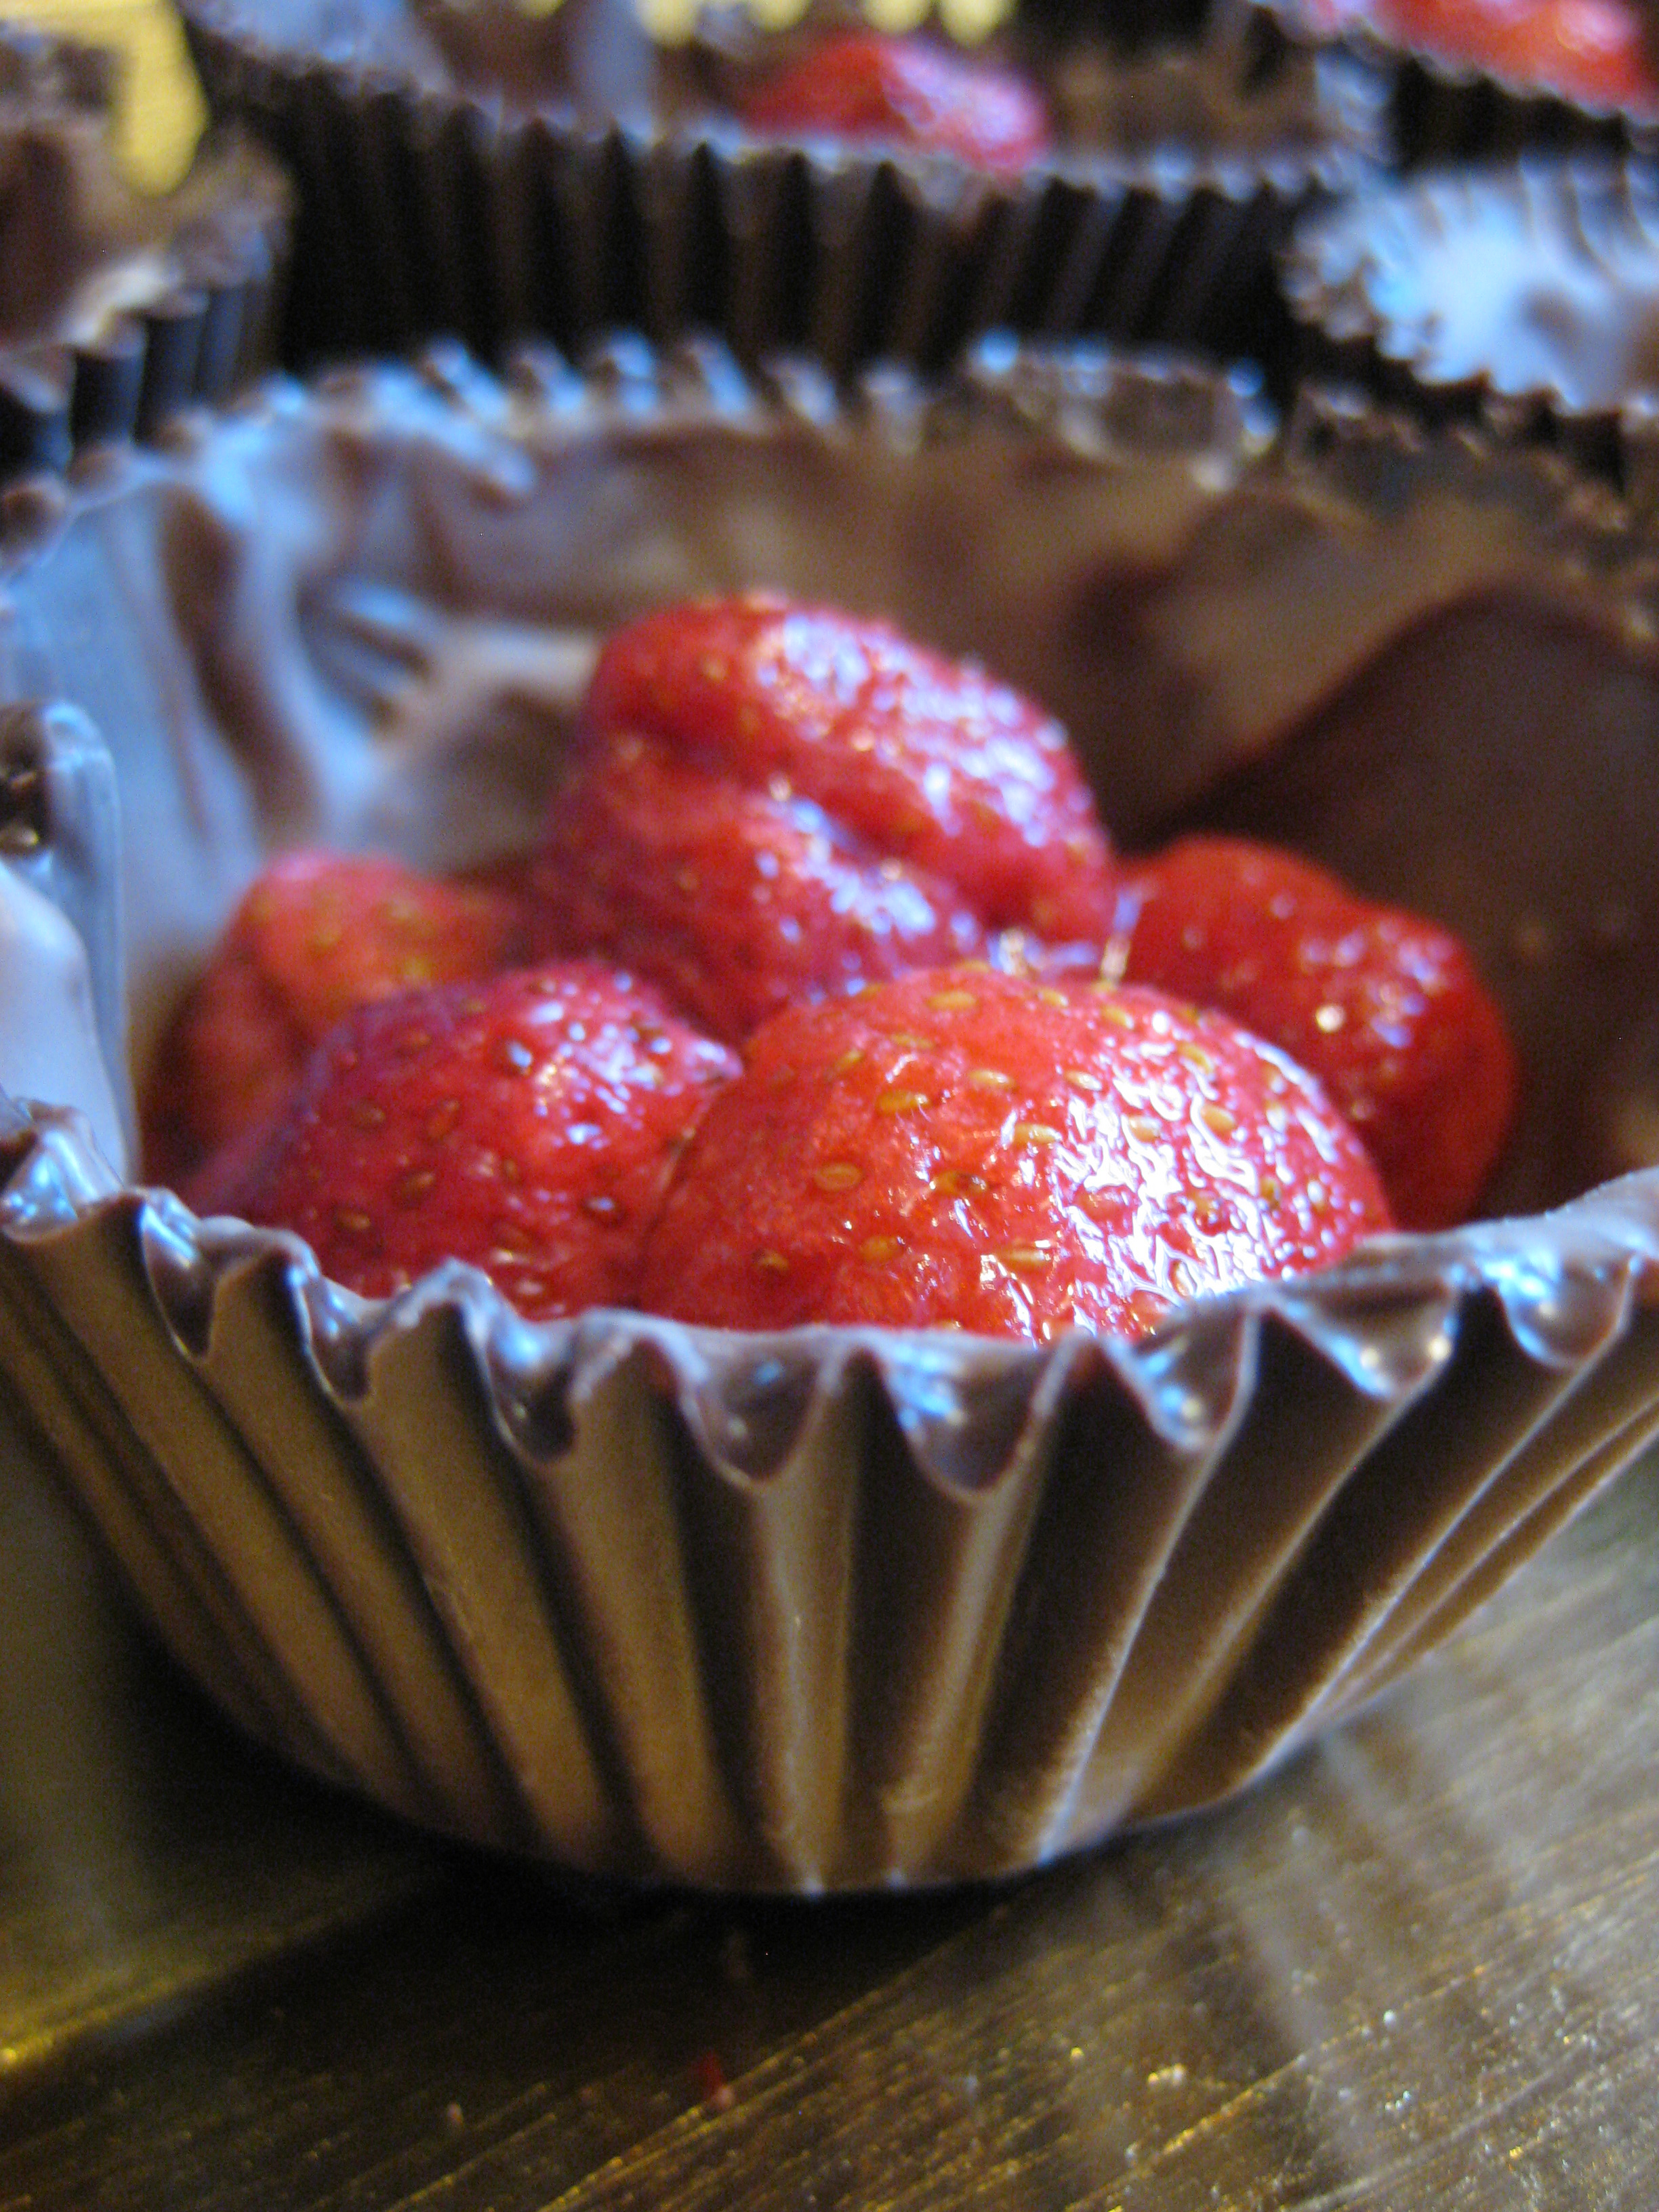
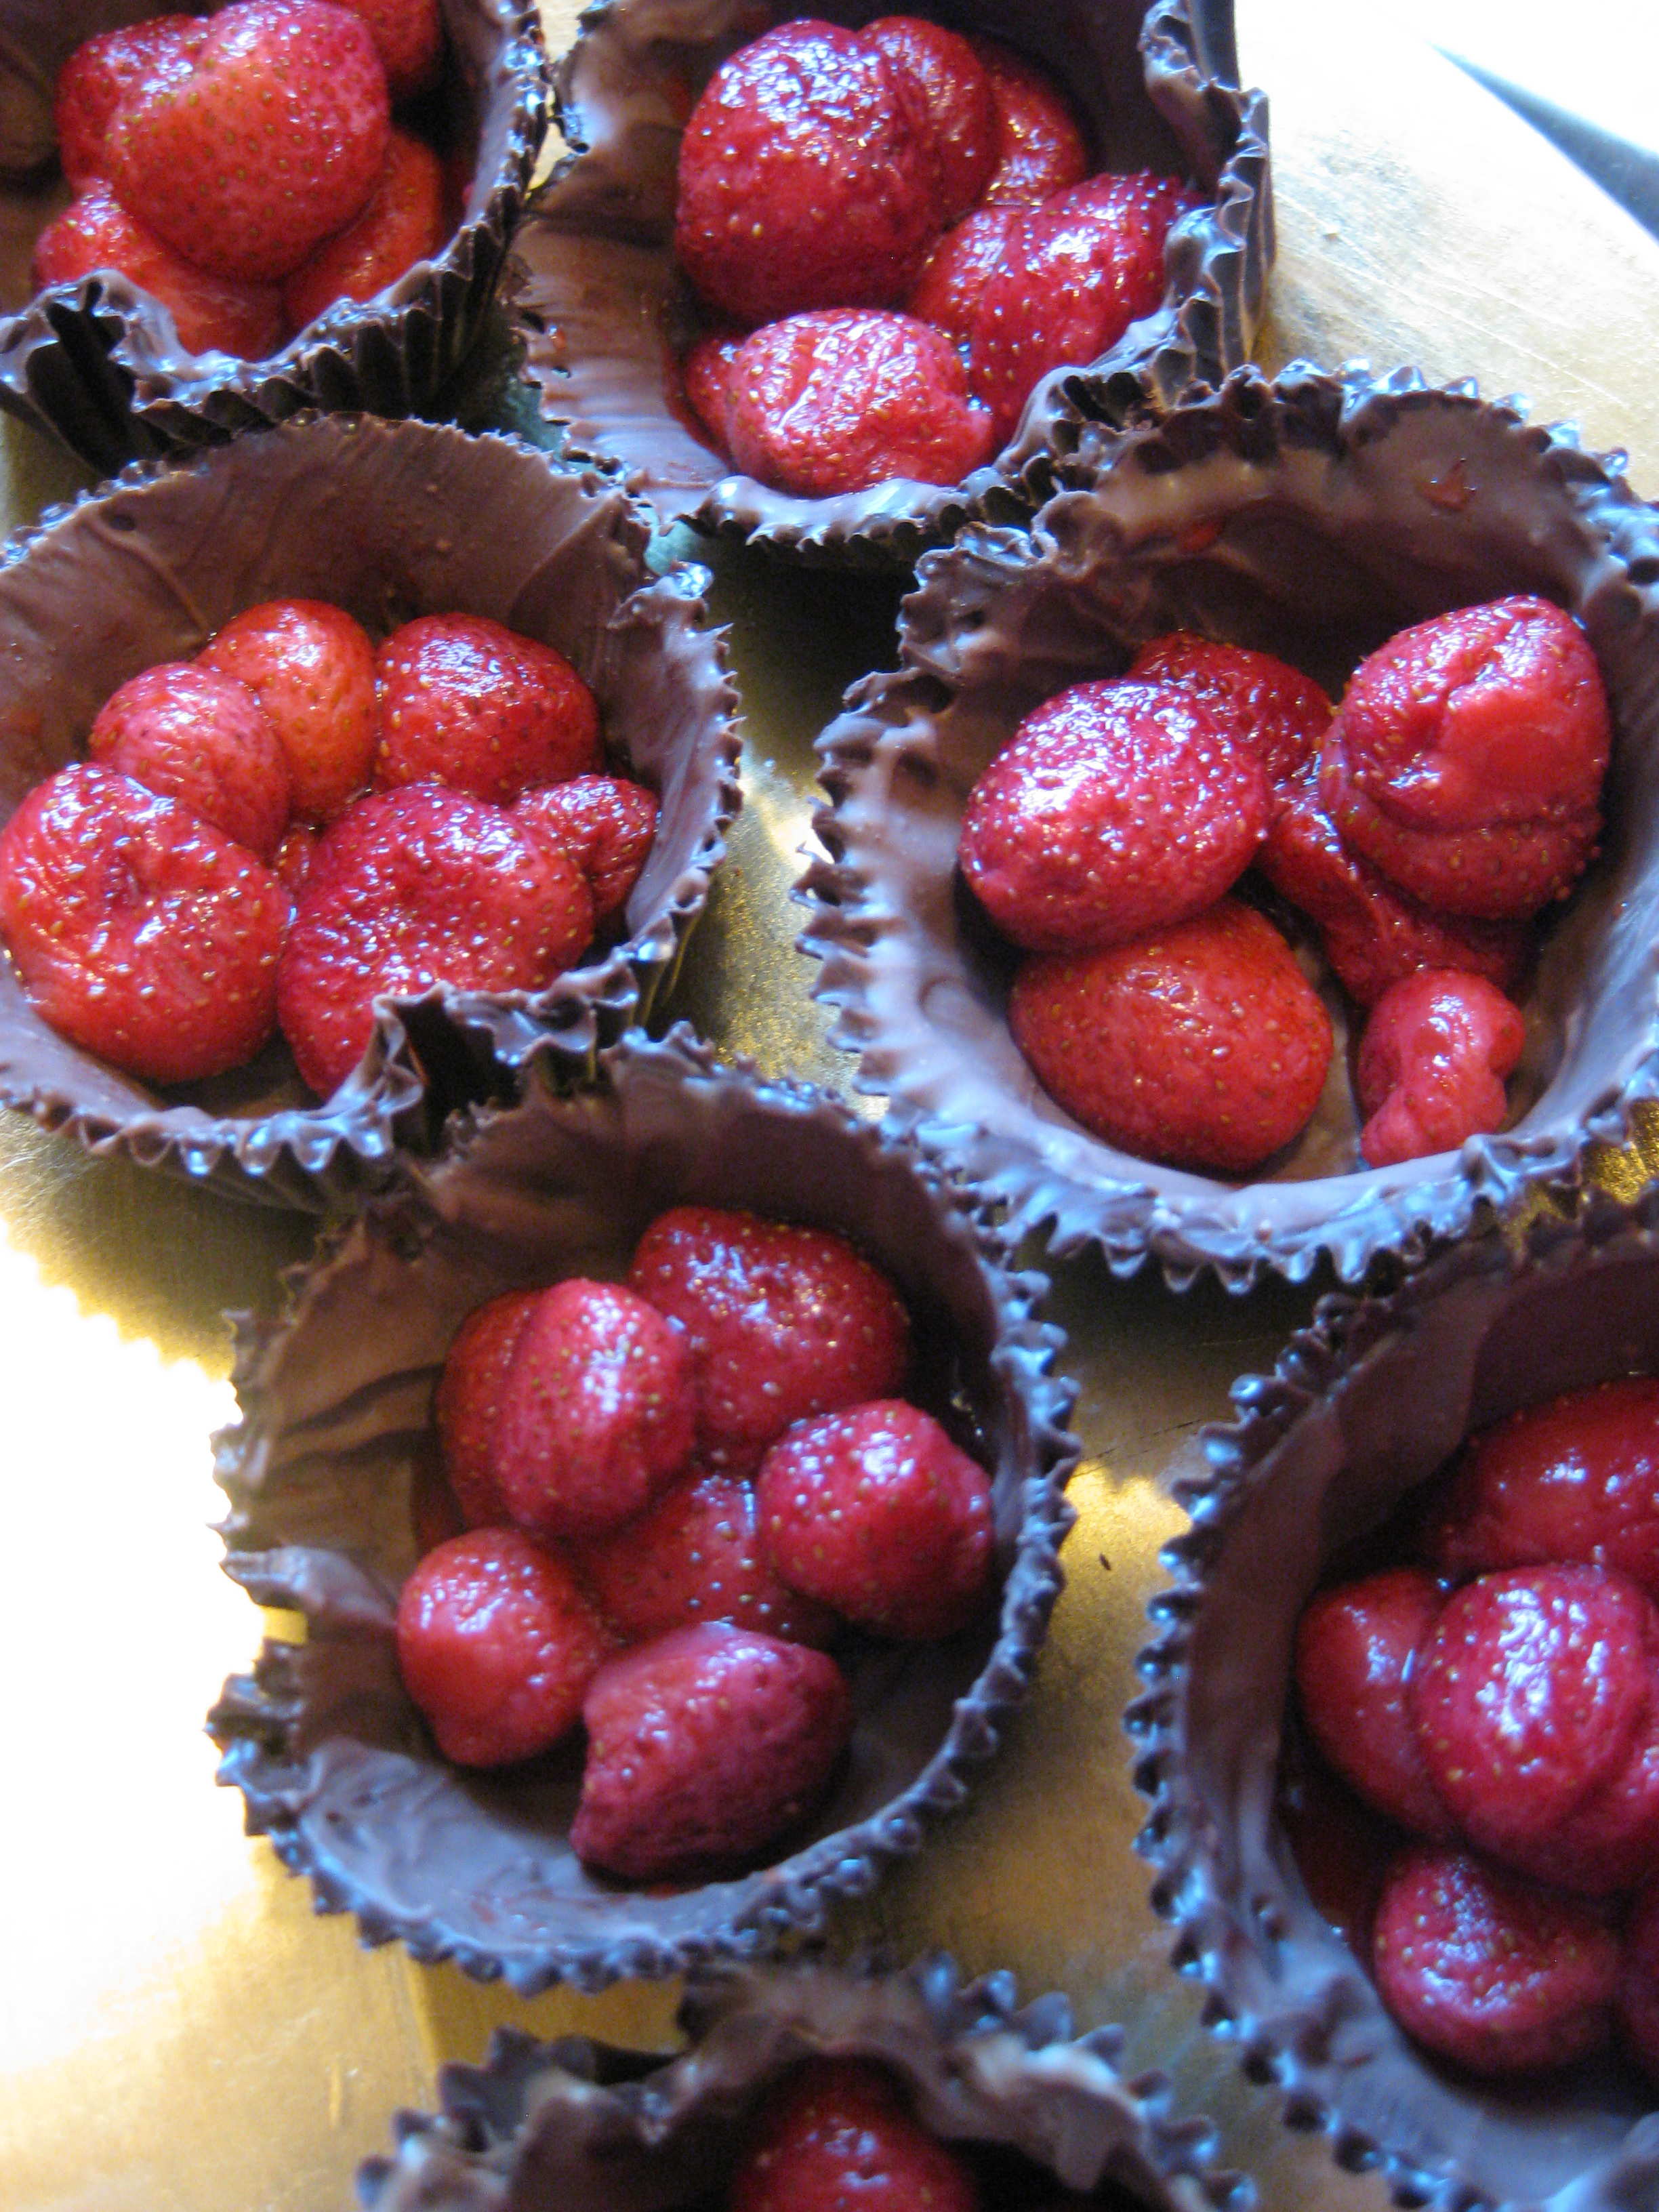
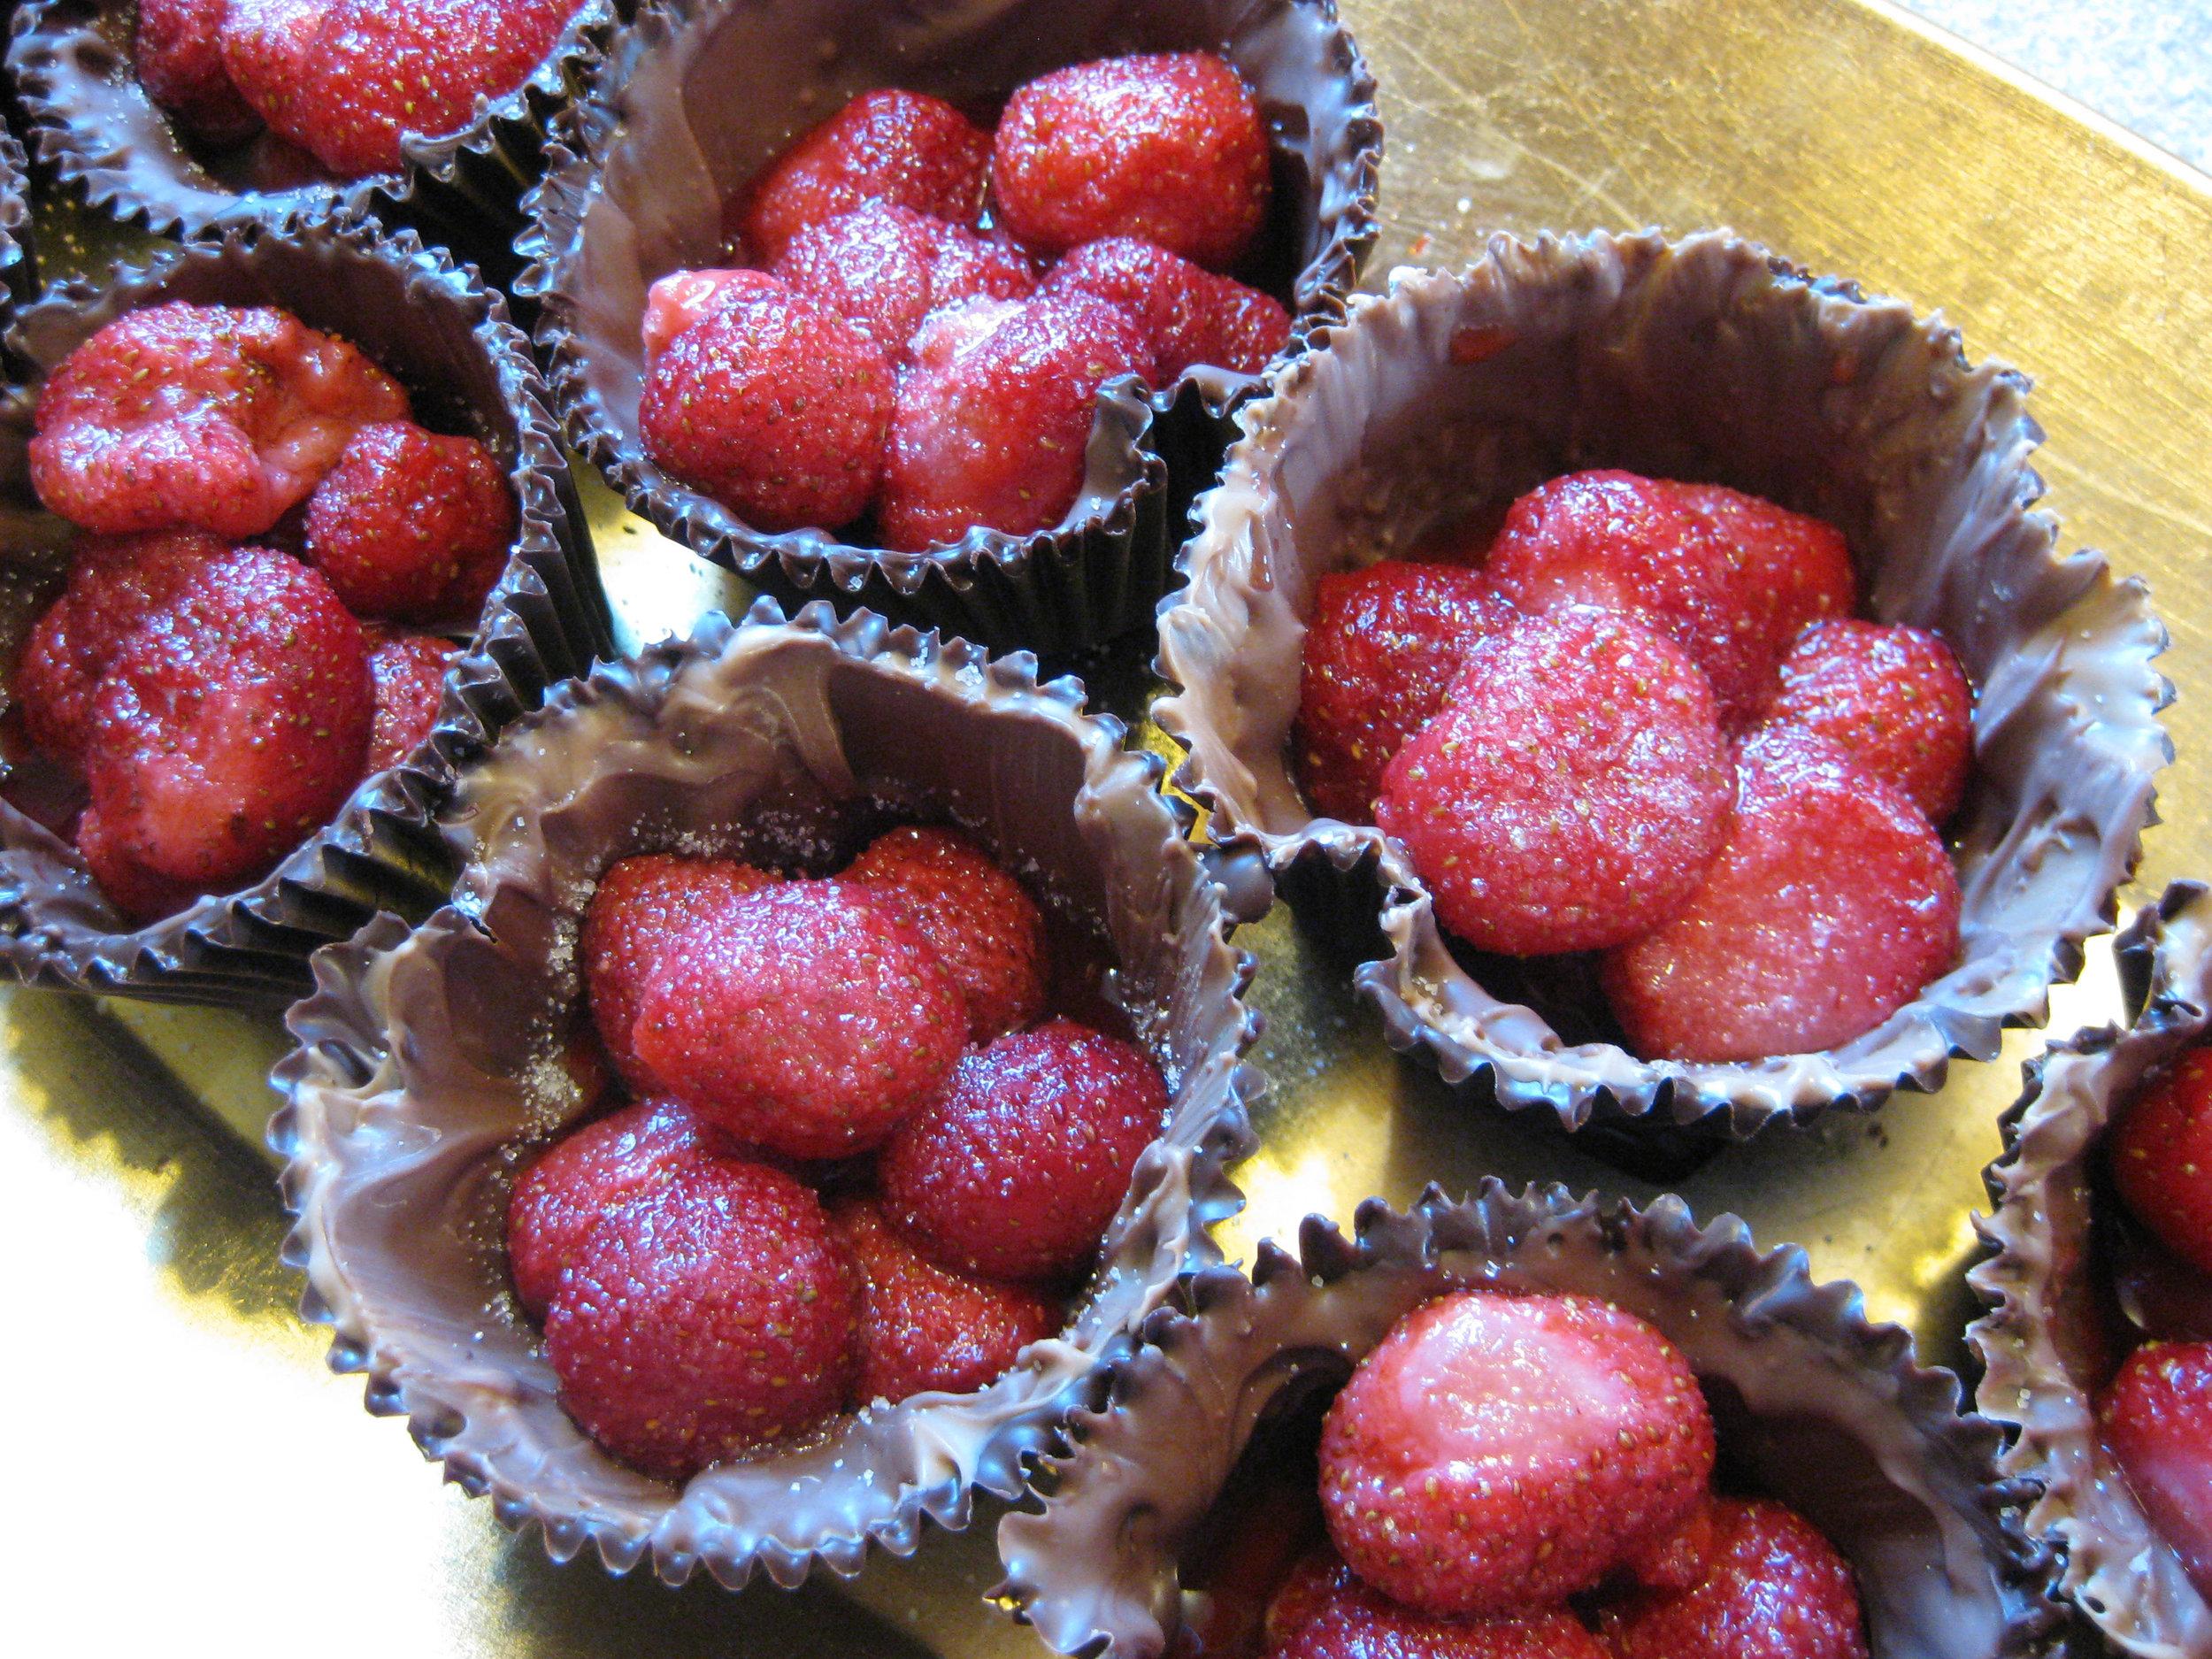
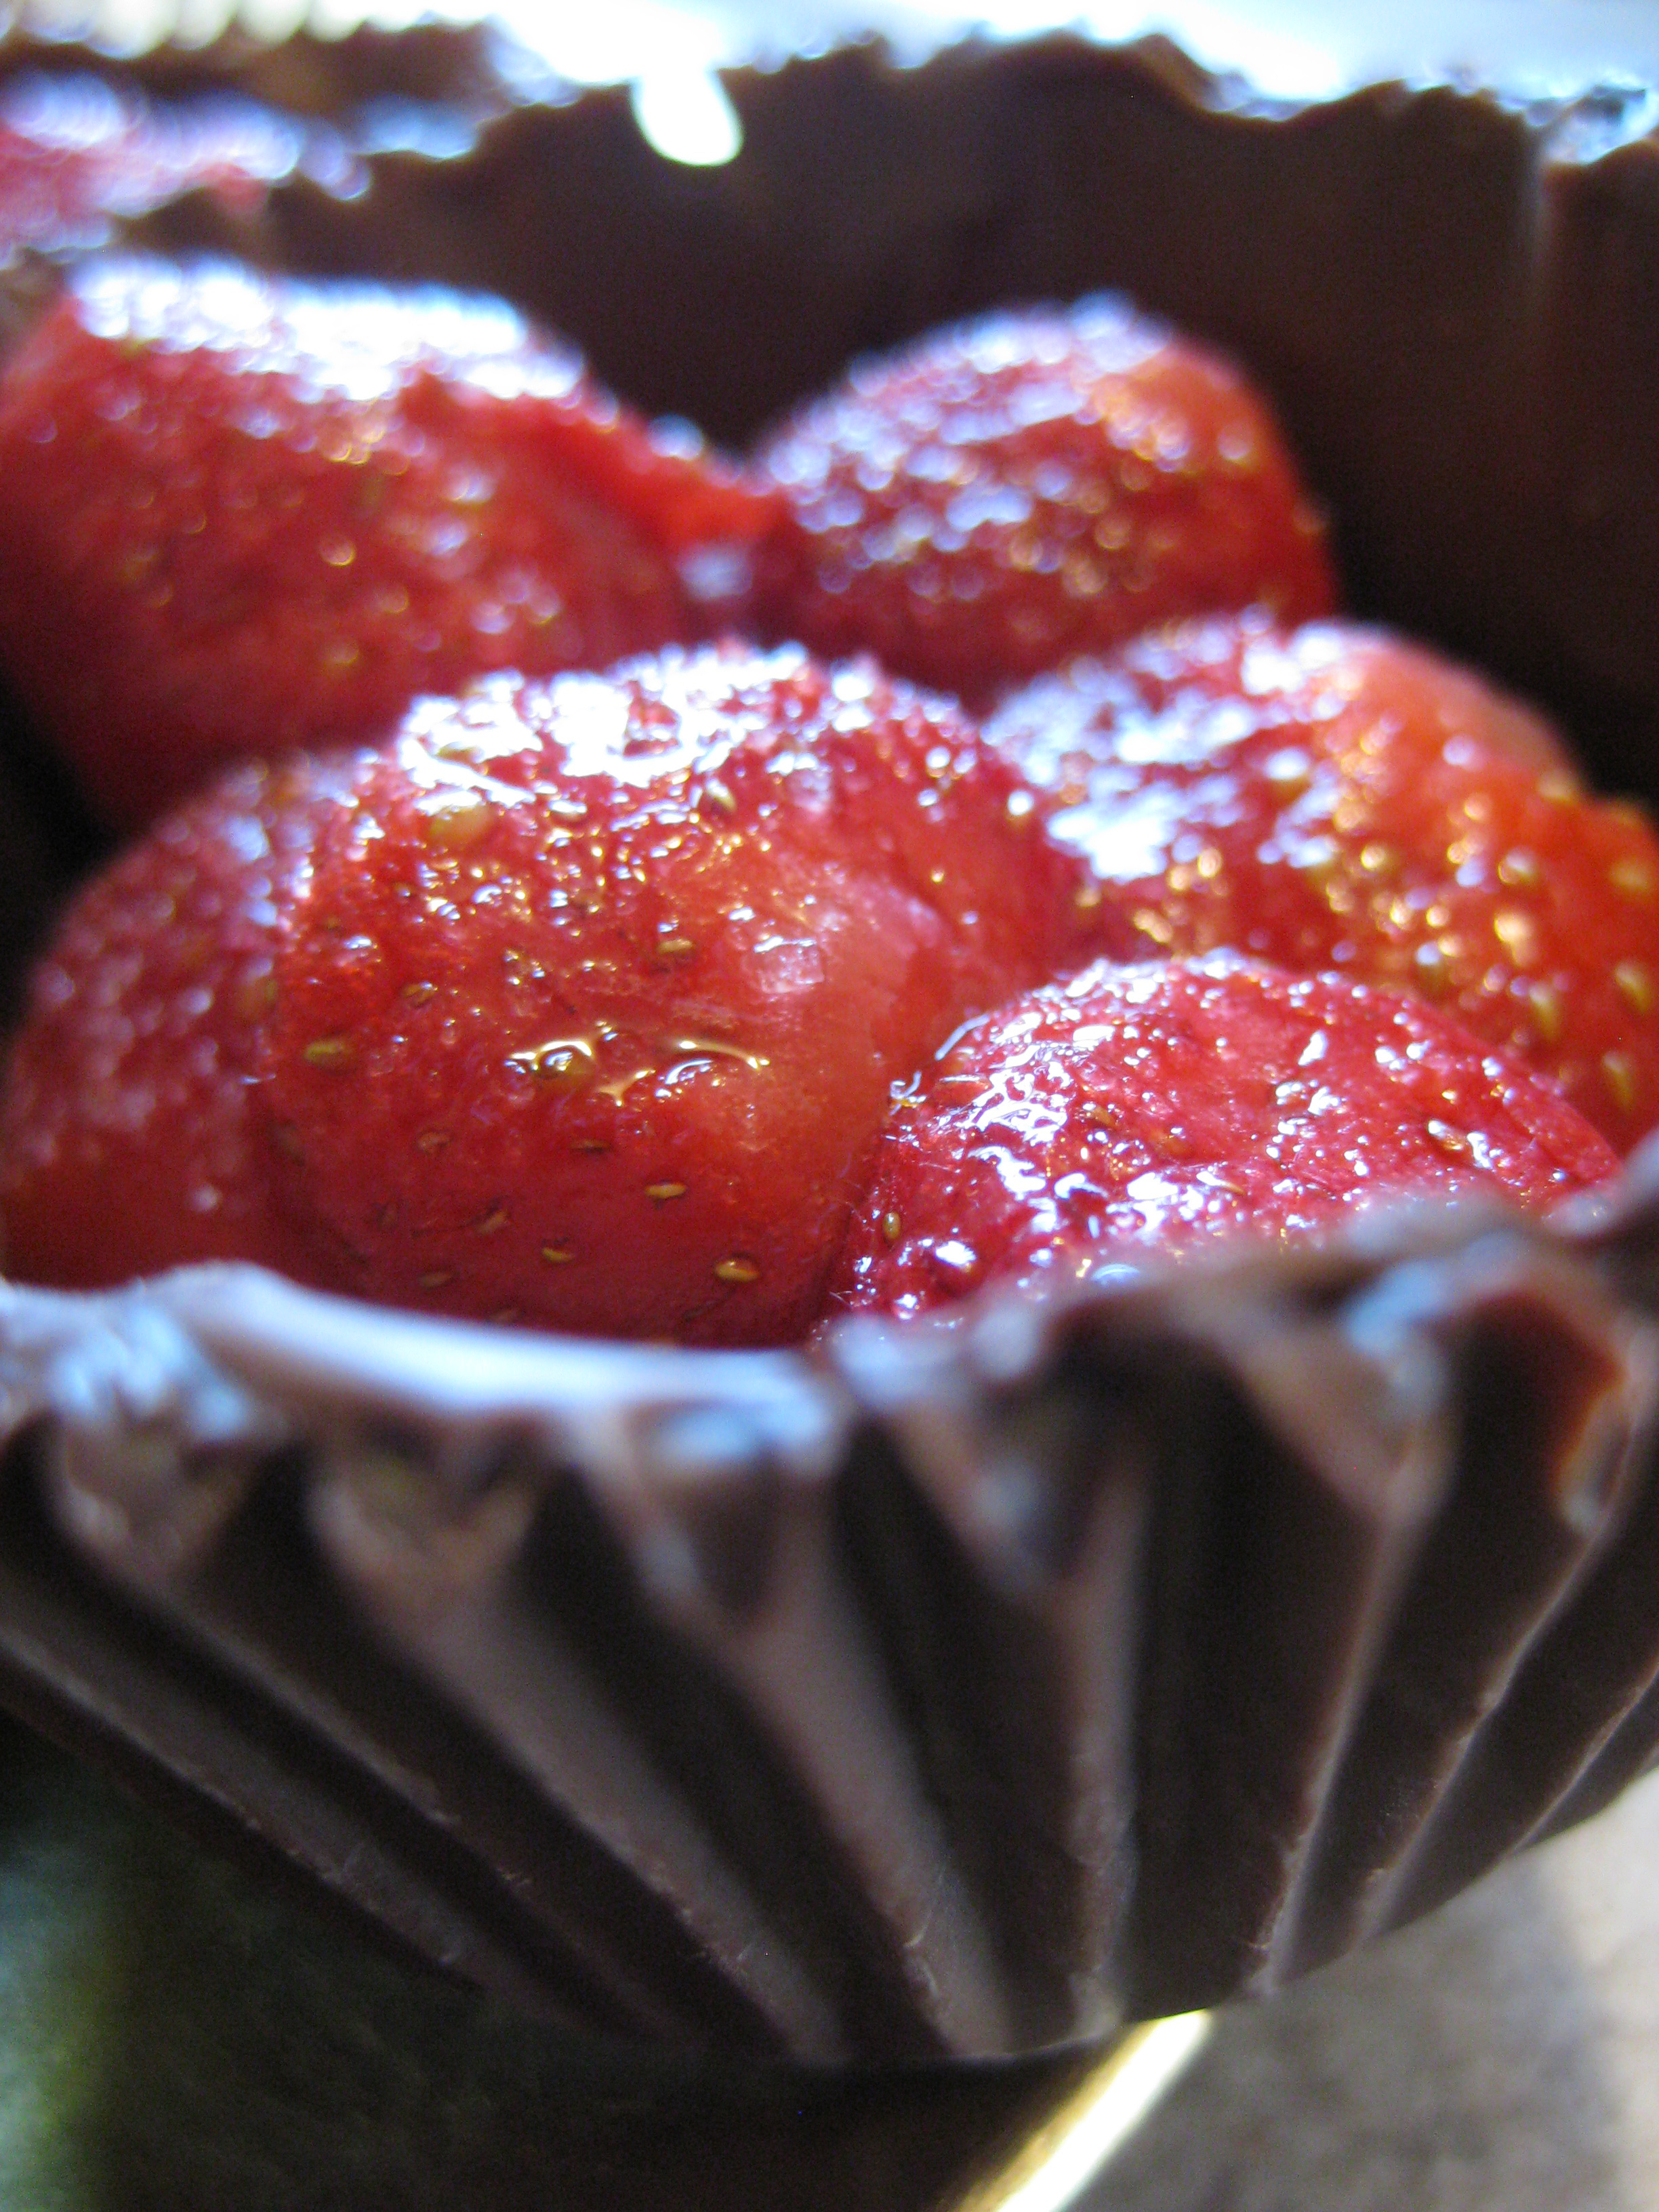
I drained my strawberries and placed a scoop in each cup. I wish I had had more berries to go around and some whipped cream to top them off!
The original recipe suggested drizzling the fruit with raspberry sauce, but I just sprinkled each one with a pinch of sugar instead.
Darling!
Since making these, I've thought of so many fun ways they could be used! Mini ice cream bowls, "baskets" for Easter treats, pudding cups, yogurt parfaits.
You could even use them as mini serving bowls to hold nuts, mints, sprinkles, garnishes, and other small party foods.
And since Candy Melts come in so many colors, you could even make these bowls in pink or blue for a baby shower or in a bride's wedding colors.
The best part? No dishes to wash...just serve and eat!
