I love making cakes for kids' parties and my fiancé Andrew's nieces and nephews especially love my creations. Niece Lily recently turned 4, and she requested that I make a pink princess cake for her party. Here are the step-by-step directions for making a princess cake. I realize you may read some of the steps and think, "Well, duh. Thanks for insulting my intelligence", but I always try to give VERY SIMPLE directions for those who may be totally in the dark in terms of making cakes. That also explains the length of this post!
STEP ONE Choose a oven-safe metal or glass bowl to use as your cake ‘pan' (bowls make the perfect "ball gown" shape). Prepare the bowl by coating it with a thin layer of shortening and then dusting it with flour. Or, use Wilton's special stuff called "Cake Release", which is what I use to cut down on prep time and hassle. Place your bowl on a cookie sheet.
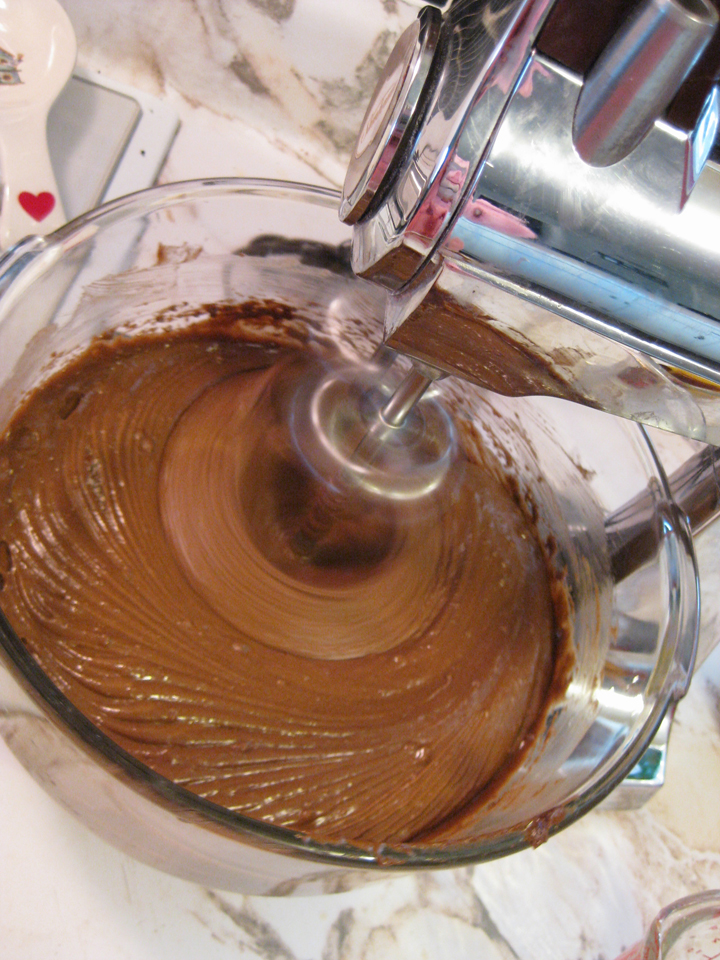
STEP TWO Mix up your cake batter! Yummy!
STEP THREE
Pour batter into prepared bowl and place into the oven, making sure that it is nearly centered in your oven. This helps ensure even baking. 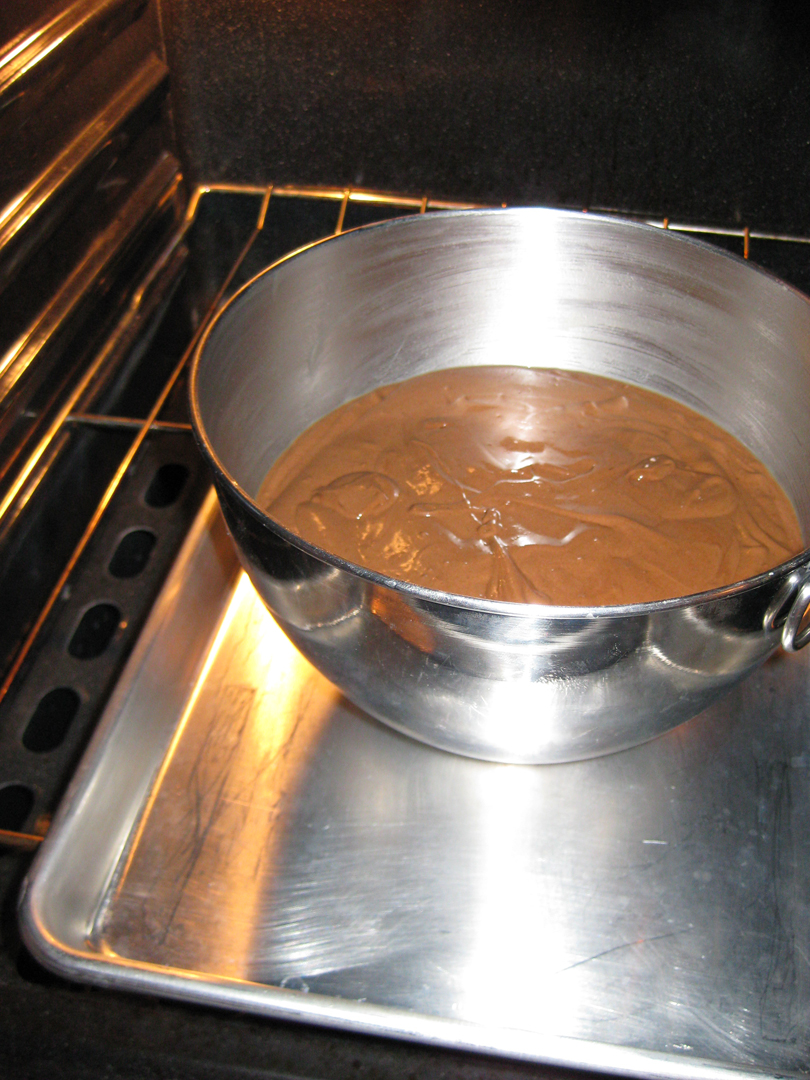
For baking time, begin with the recipe directions, adding time as needed until a toothpick (or in this case, I used a long kabob skewer) inserted into the center of the cake comes out clean. I found that my cake required nearly double the time the recipe called for, but you want to keep your eye on it so it doesn't burn!
STEP FOUR
While your cake is in the oven, wash your mixer and whip up a batch of buttercream icing. Because I would be piping details, I started with a batch of "medium" consistency icing, divided out what I would need to tint, and then used the remainder to make "thin" consistency icing for covering the cake. 
STEP FIVE
Add color to your divided icings. Wilton brand pigments are great because the colors are very accurate and easy to blend.

Use a toothpick to extract pigment out of the tub (ALWAYS use a NEW toothpick or you will contaminate your pigment tubs!) Start with a small amount and drag the toothpick through your icing. 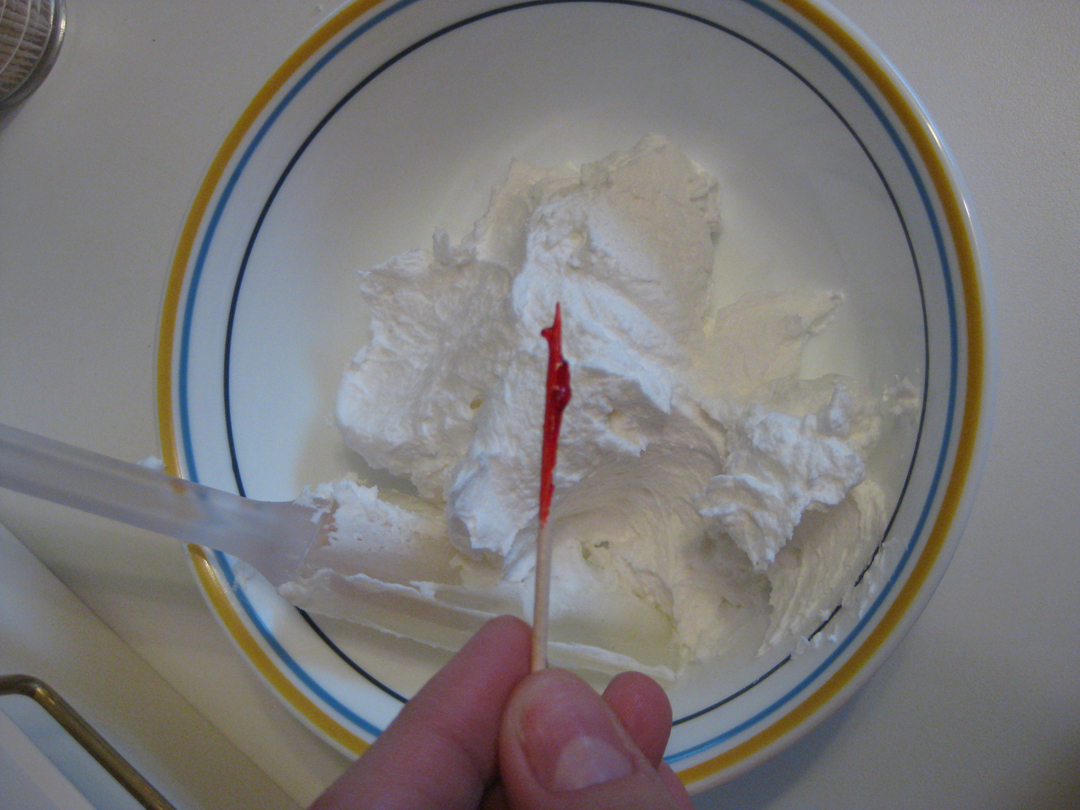
Mix in the color using a spatula, adding more pigment (with a NEW toothpick), if necessary. Ta da! Pink icing! 
STEP SIX
Once the cake has been removed from the oven, let it cool slightly. It will likely have a bump or a crown from where the batter expanded while it cooked. 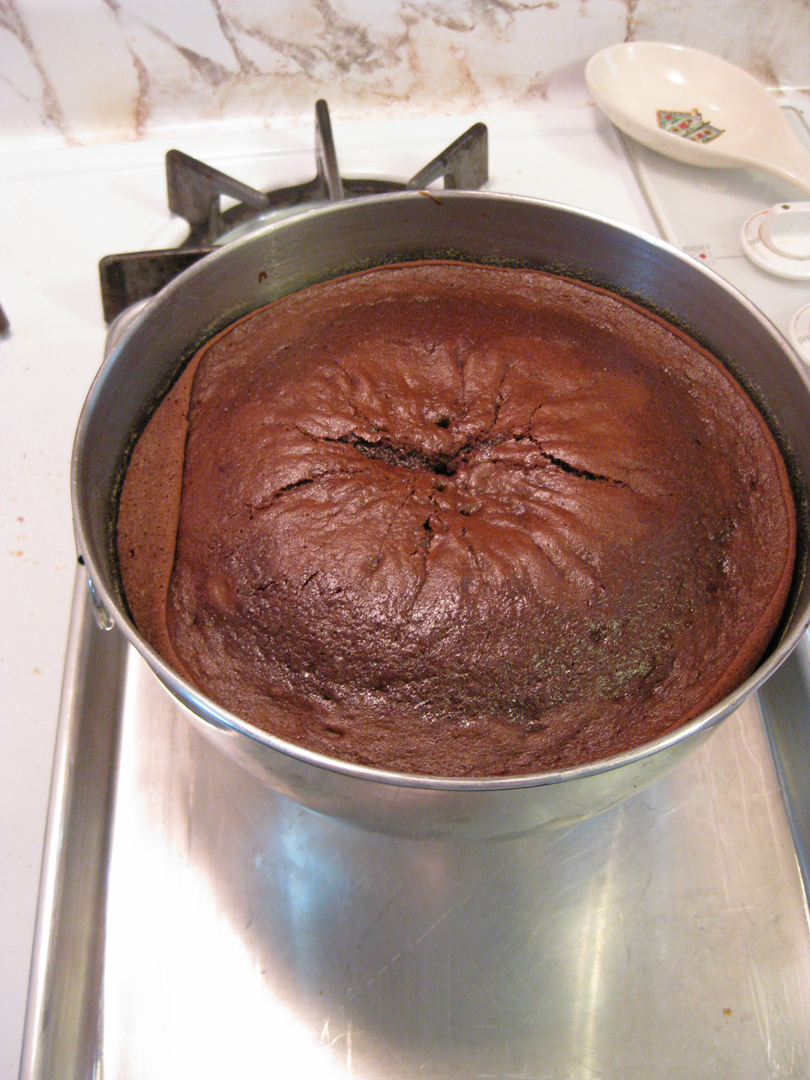
This will need to be shaved off so the cake will sit evenly. You may need to remove the cake from the pan to be able to trim it. Gently dump the cake out by placing a plate over the opening of the bowl and turning over. After you have shaved off the bump, set the cake on a cooling rack and let cool completely. 
STEP SEVEN
Once cake has cooled, center it on a prepared cake board. 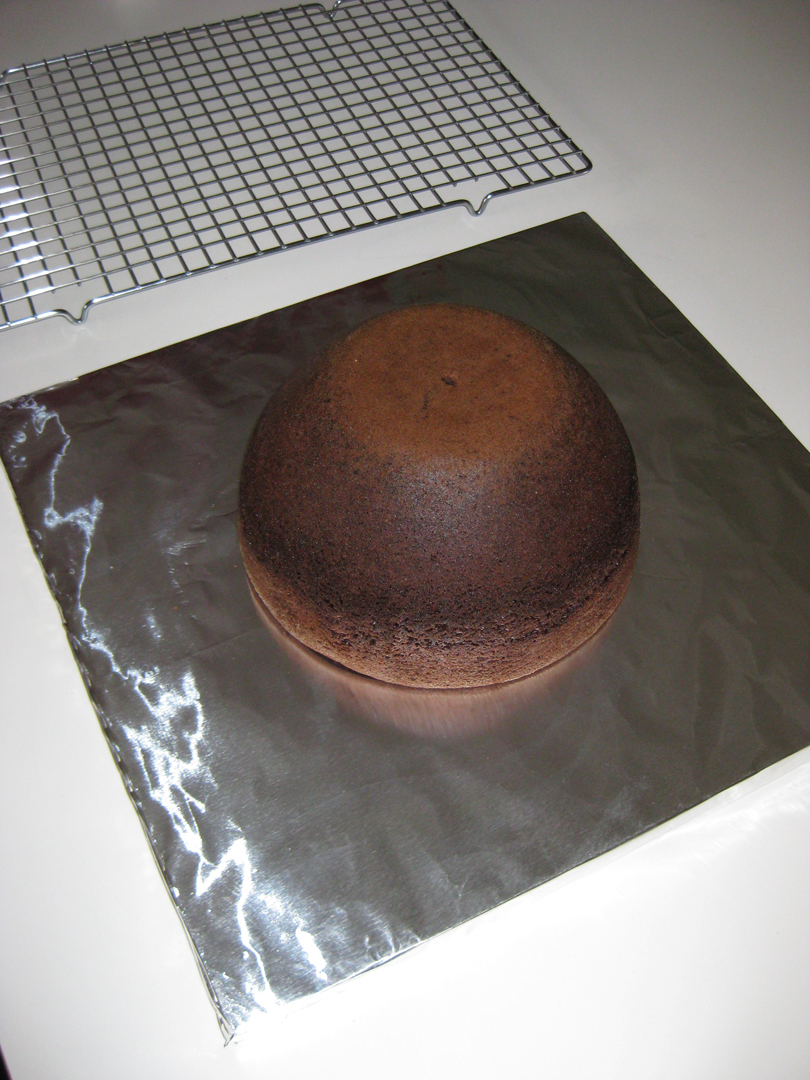
Now you are ready to decorate!
STEP EIGHT
I like to sketch out how I want my cake to look. That helps me know which piping tips I will need, as well as which color icing to use.

STEP NINE
Coat your cake with the ‘base coat' layer of icing and prepare your piping bags with the correct tips and icing colors you will need.
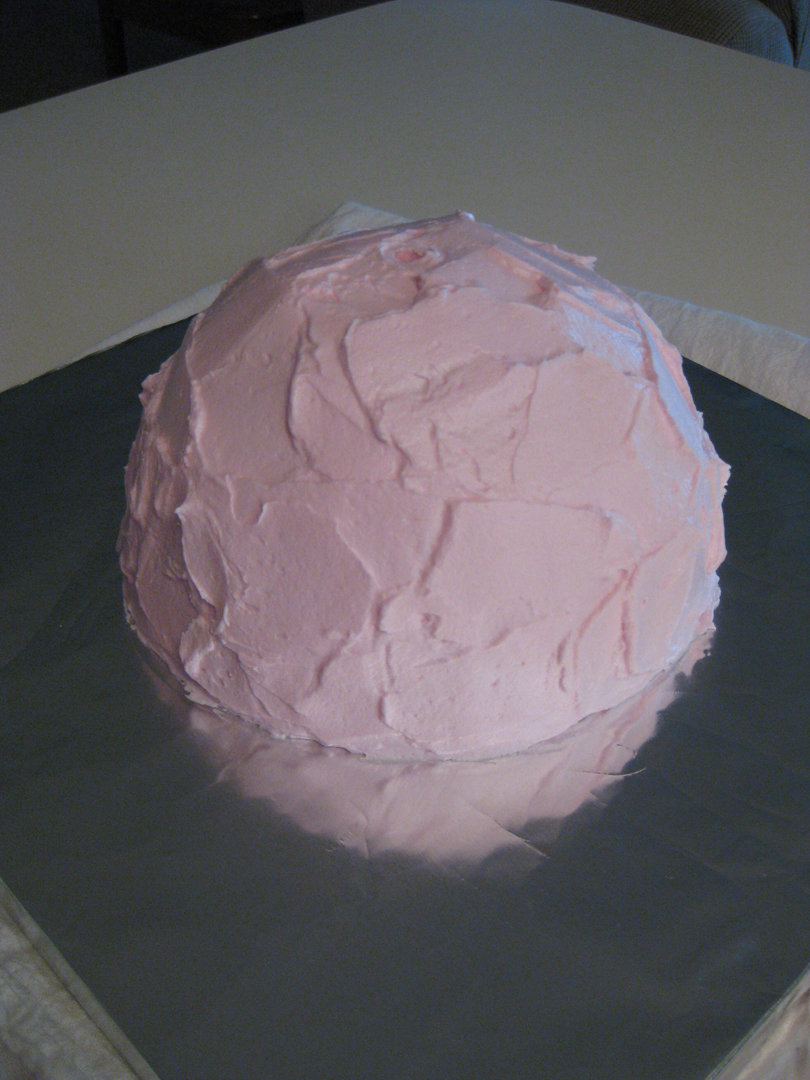
STEP TEN
Begin bringing your sketch to life by piping the correct colors in the correct places. 
STEP ELEVEN
Wilton makes a "teen doll pick" for cakes, but you can also use a regular Barbie with its legs removed. Whatever you choose, insert the doll into the cake.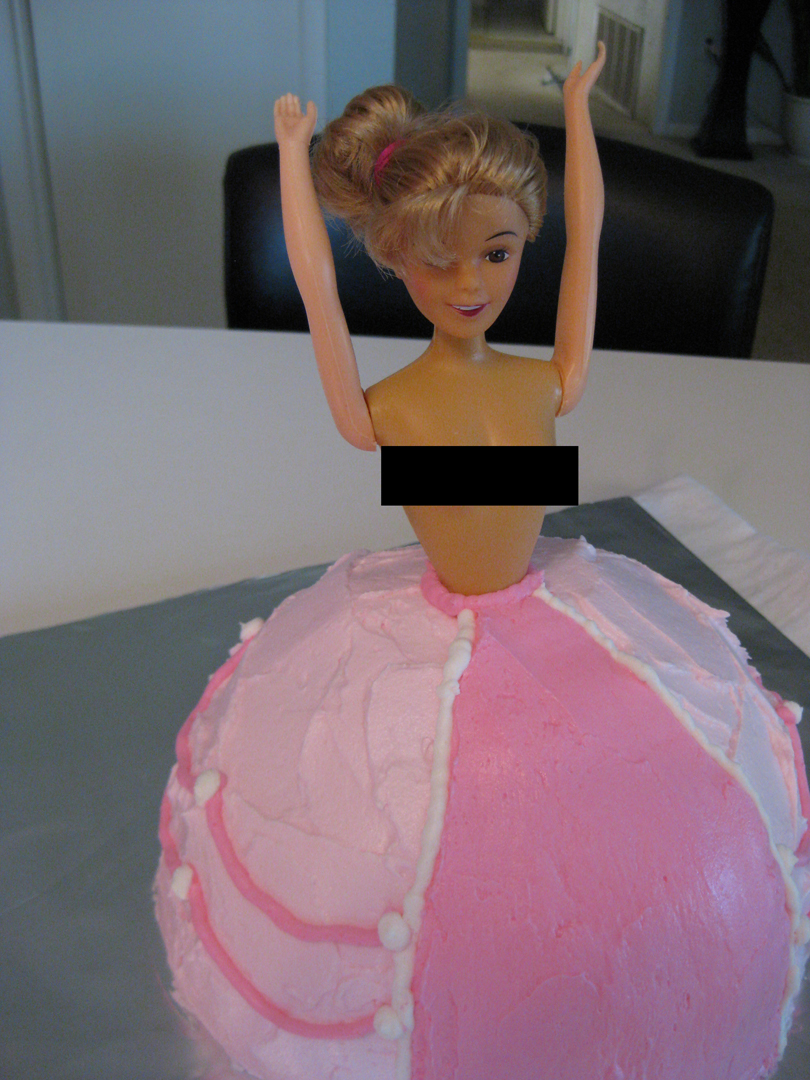
(Hey, this is a family-friendly site, after all!)
STEP TWELVE
Pipe the "bodice" of the doll's dress.
STEP THIRTEEN
Finish off the dress by piping a "hem" around the bottom of the cake. This give everything a nice, finished look.

STEP FOURTEEN
Now your cake is complete and you are ready to show it off!

Note: As I carried the cake into the party, nephew Will asked, "Is that Lily's princess cake?" When I said that it was, he responded (with a sly twinkle in his eye), "I'm gonna eat her head off!" What a boy thing to say, huh? :) So...we let him have a bite to prove that Princess's head was plastic, not cake.

So, there you have it. The steps to turn a plain ol' mixing bowl into a whimsical Princess cake! (This same technique can be used for other occasions requiring a dome shaped cake...an "Over the Hill" party, for instance.) Enjoy!

